Archive for the ‘Scenics’ Category

h1

Terrain board woes

August 3, 2016
The finished product

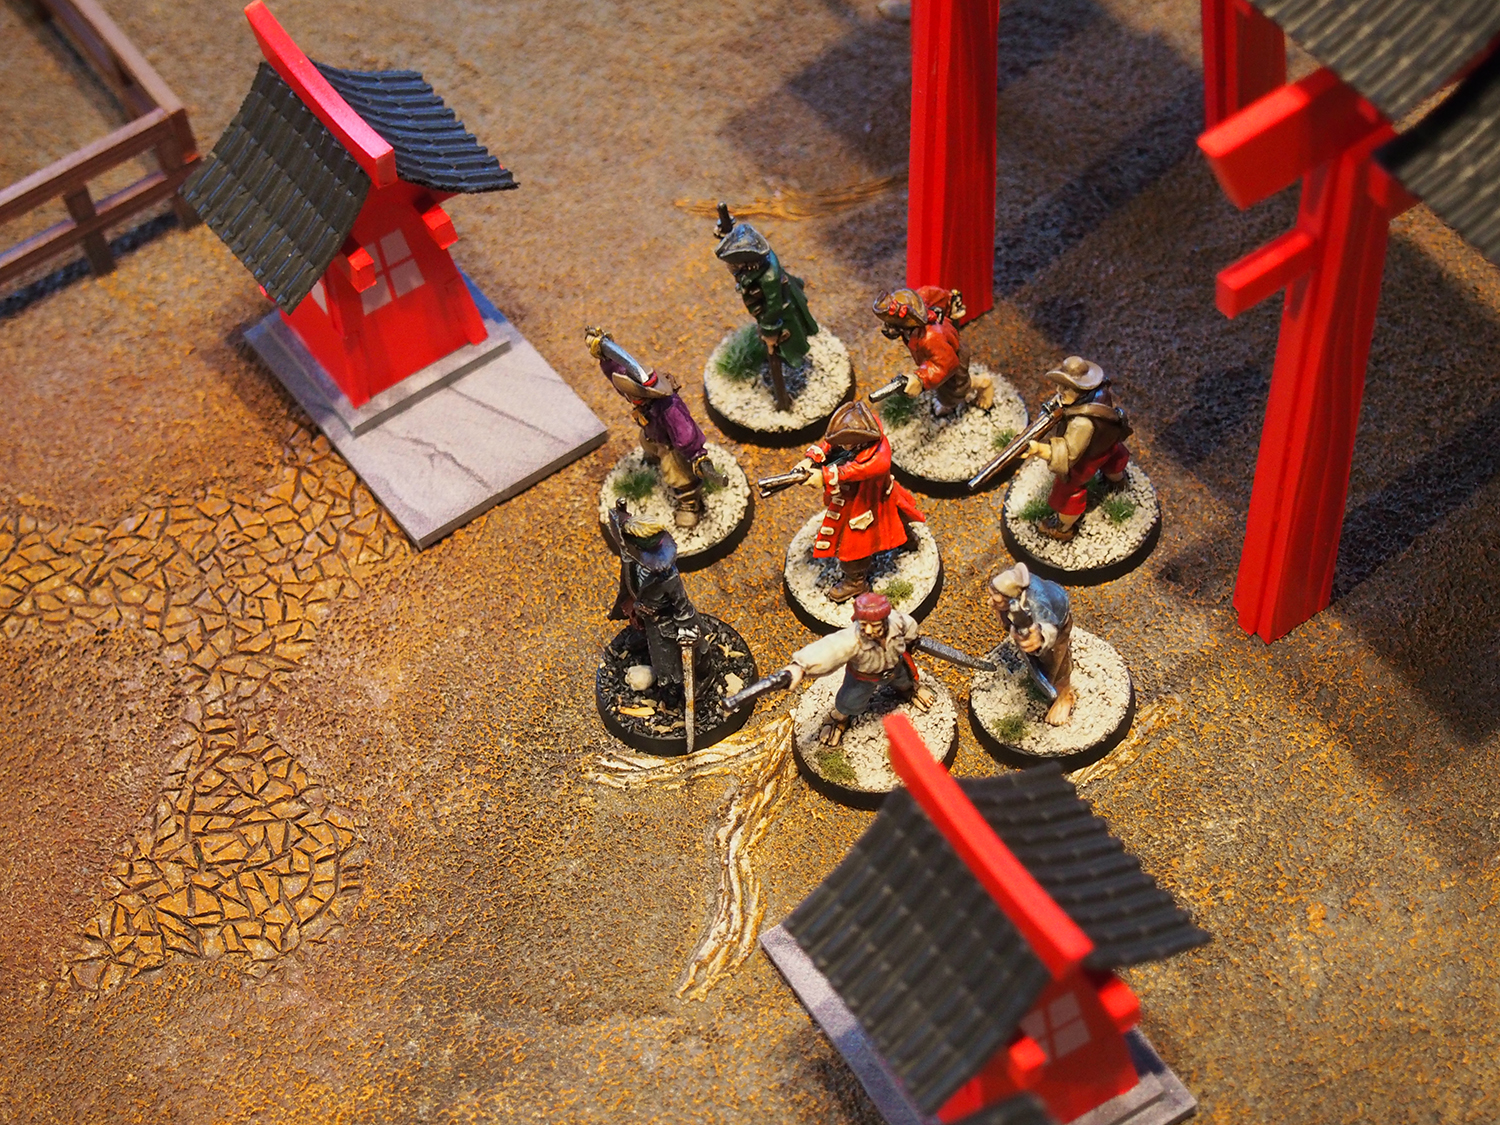
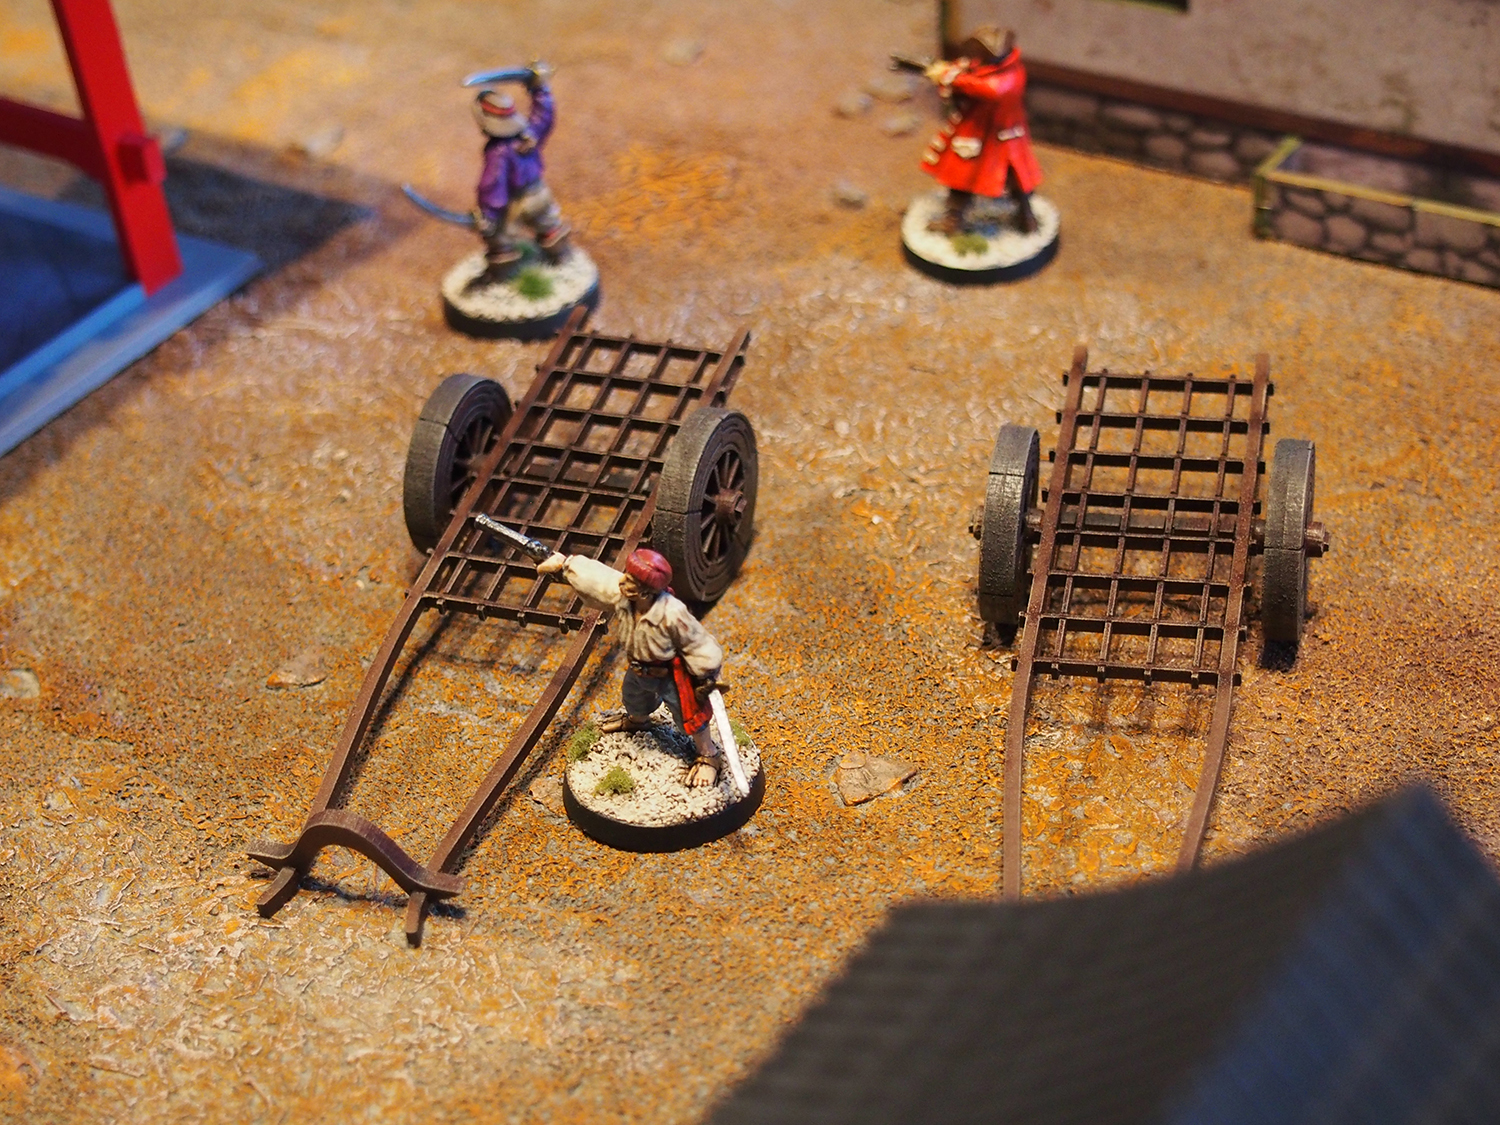
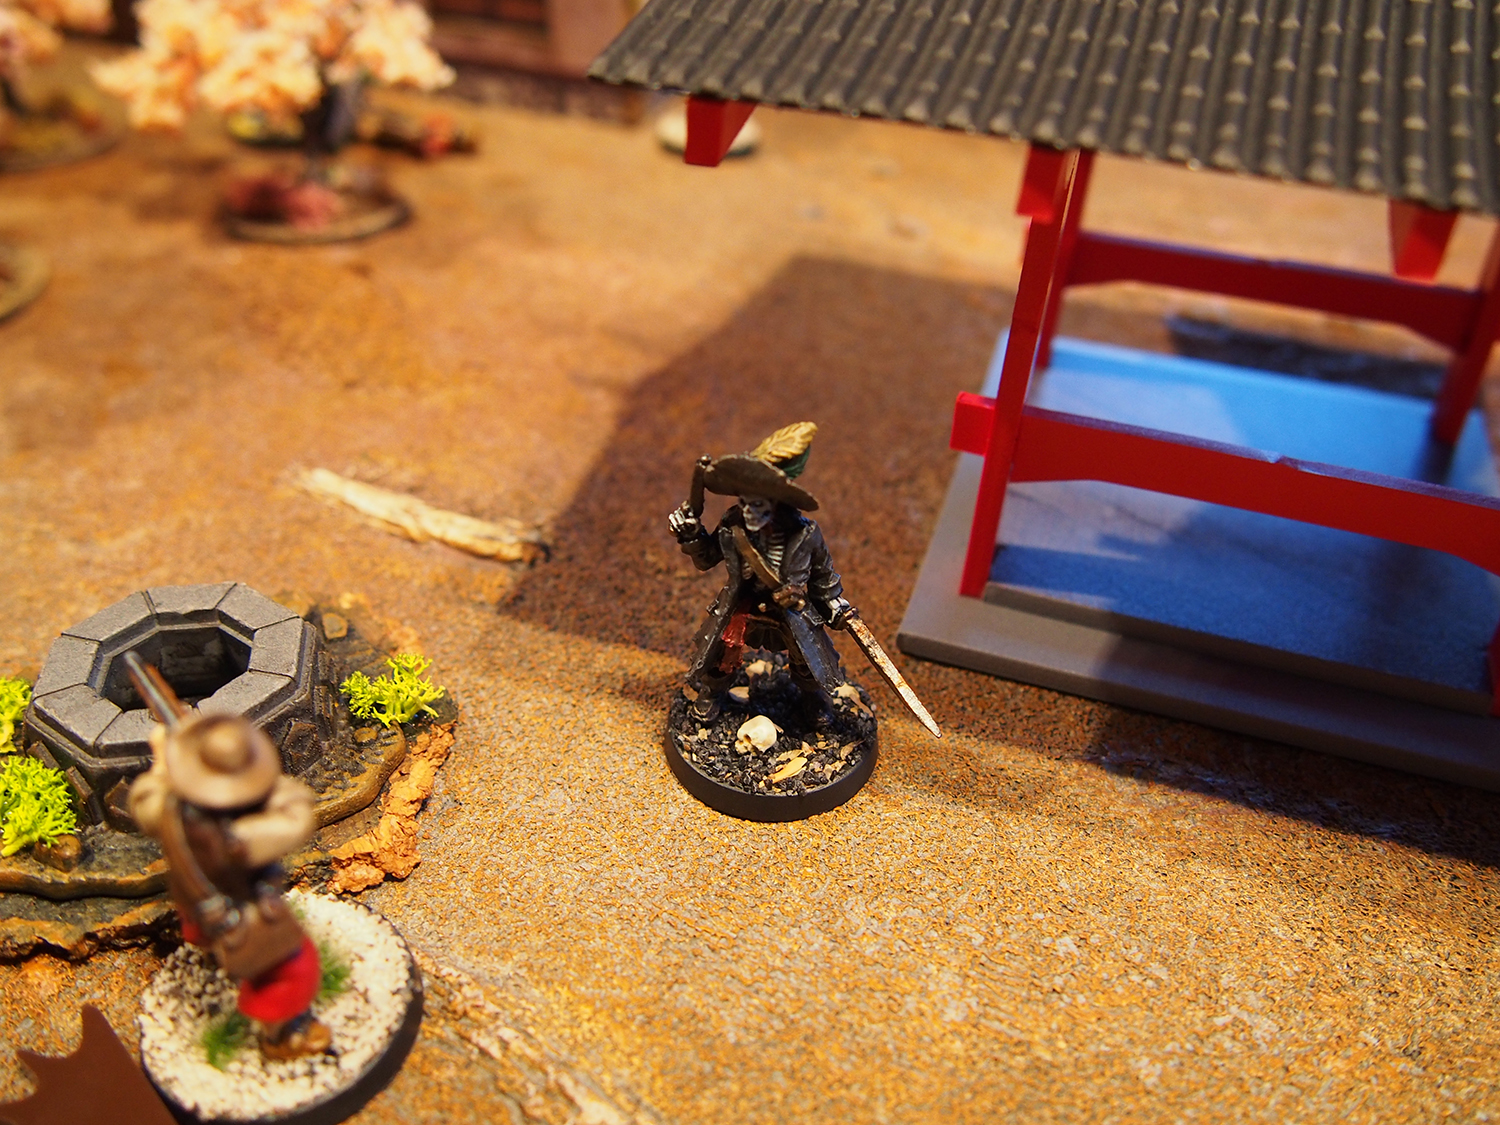
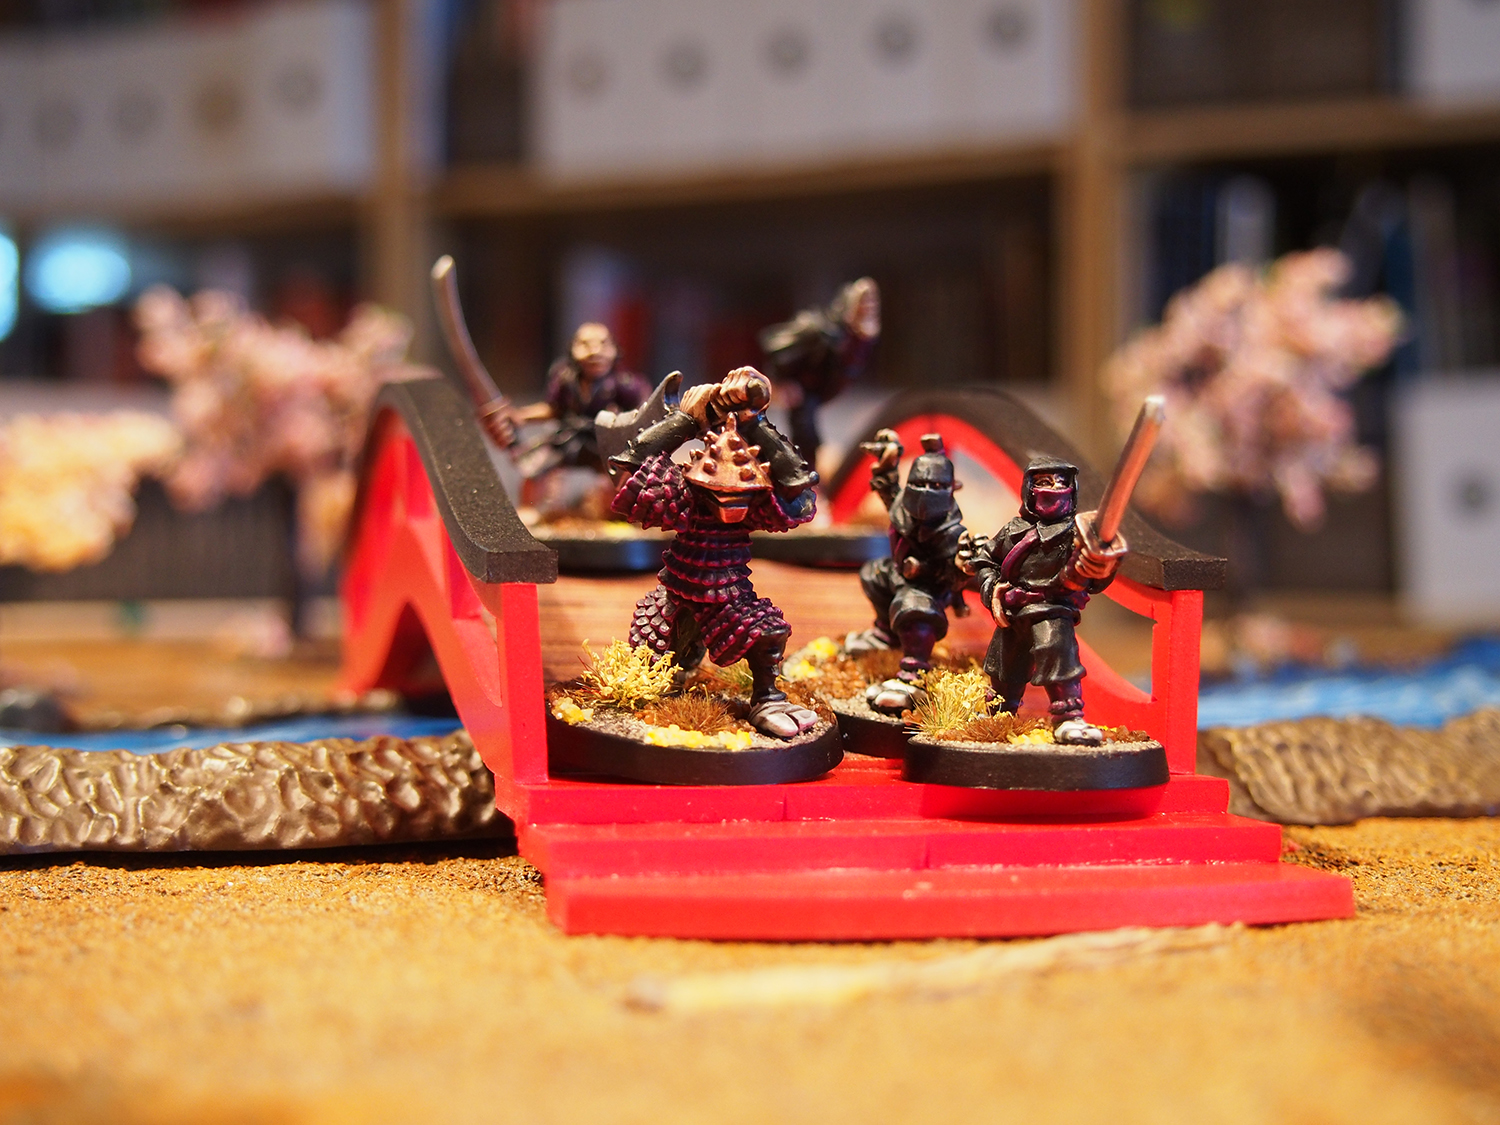
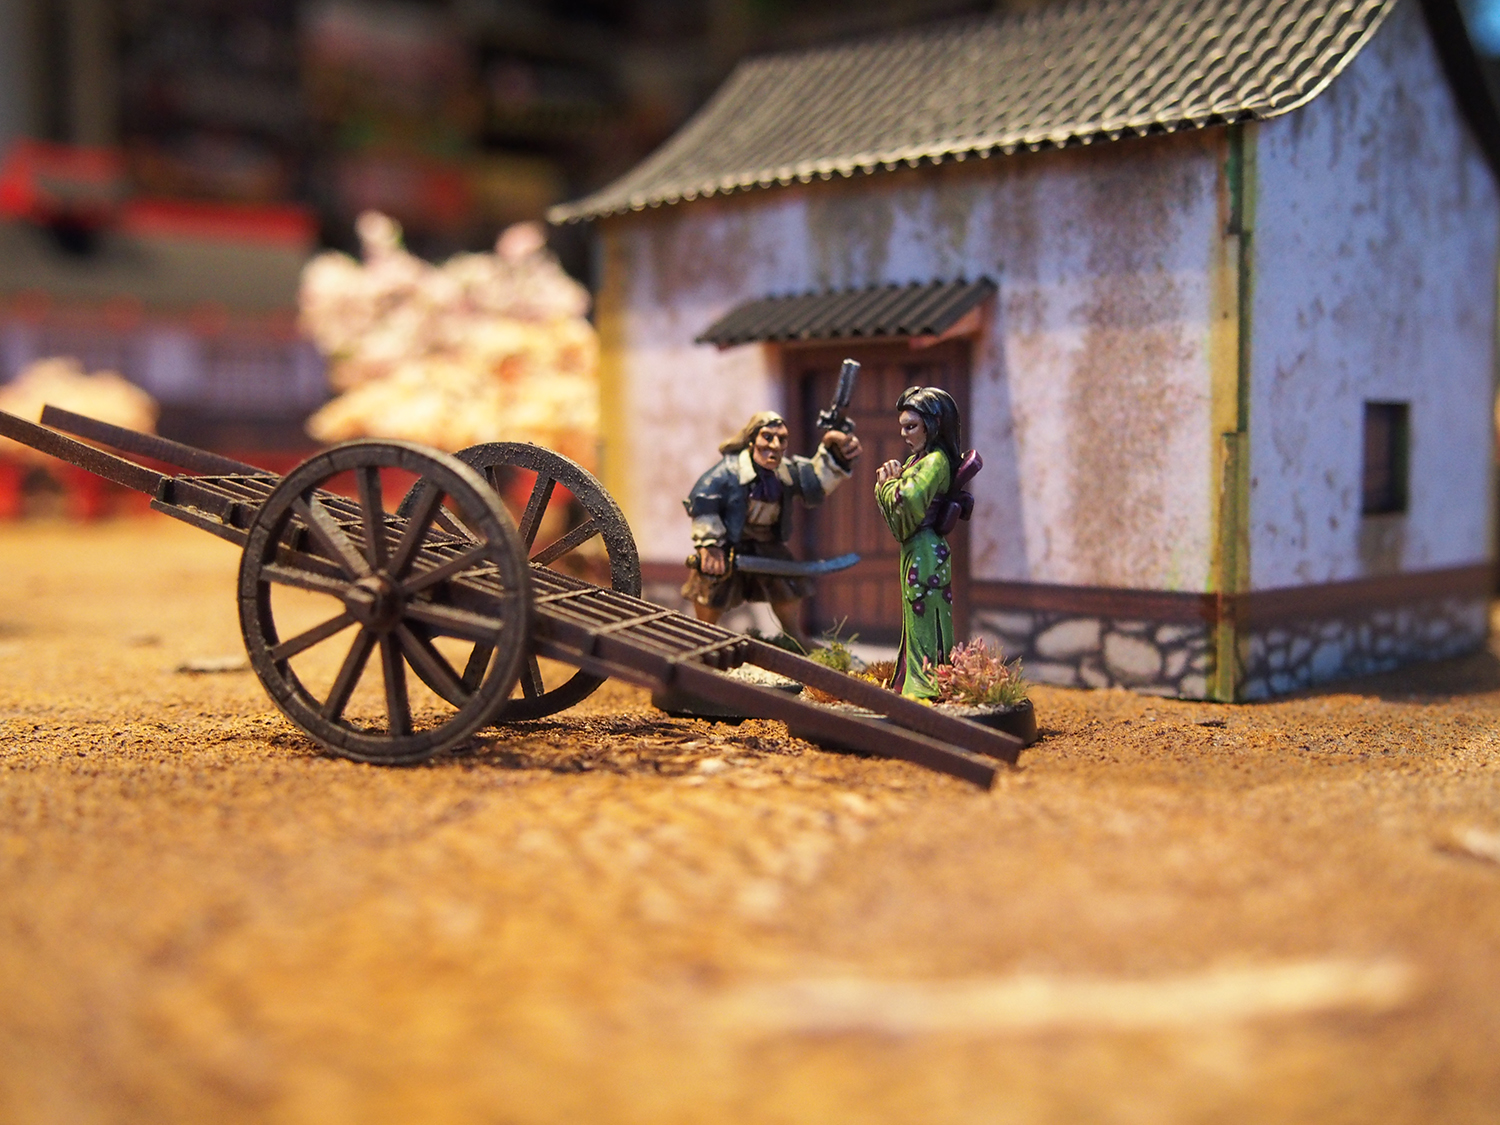
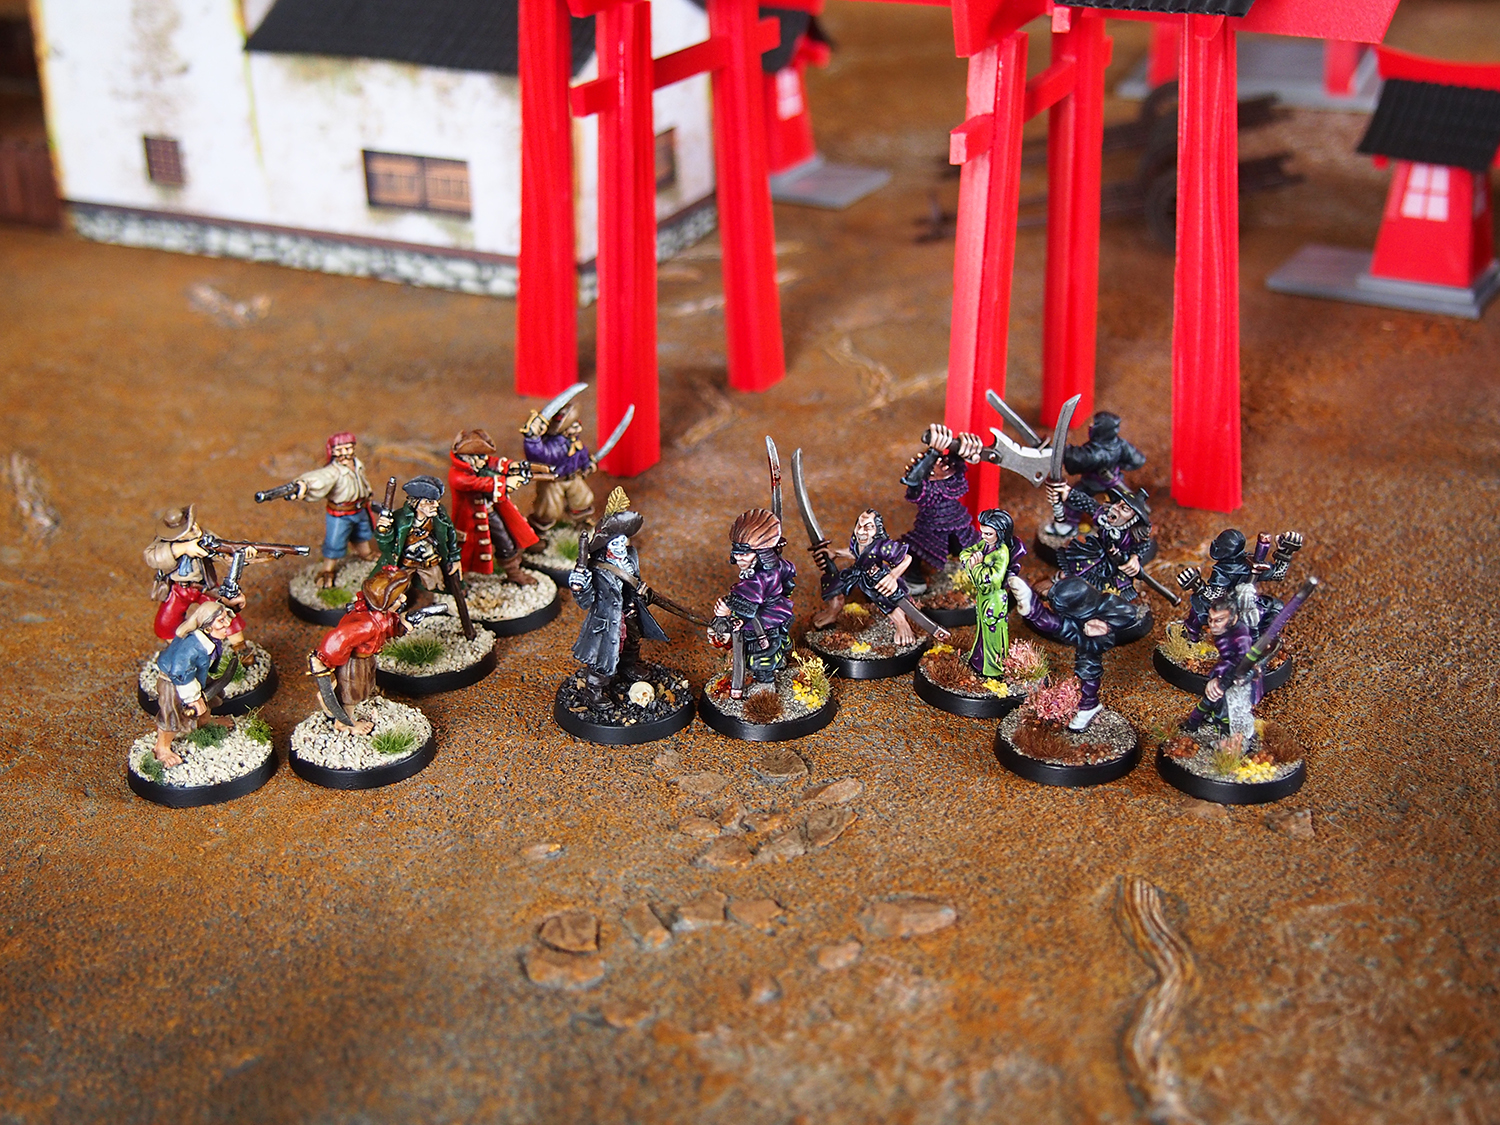
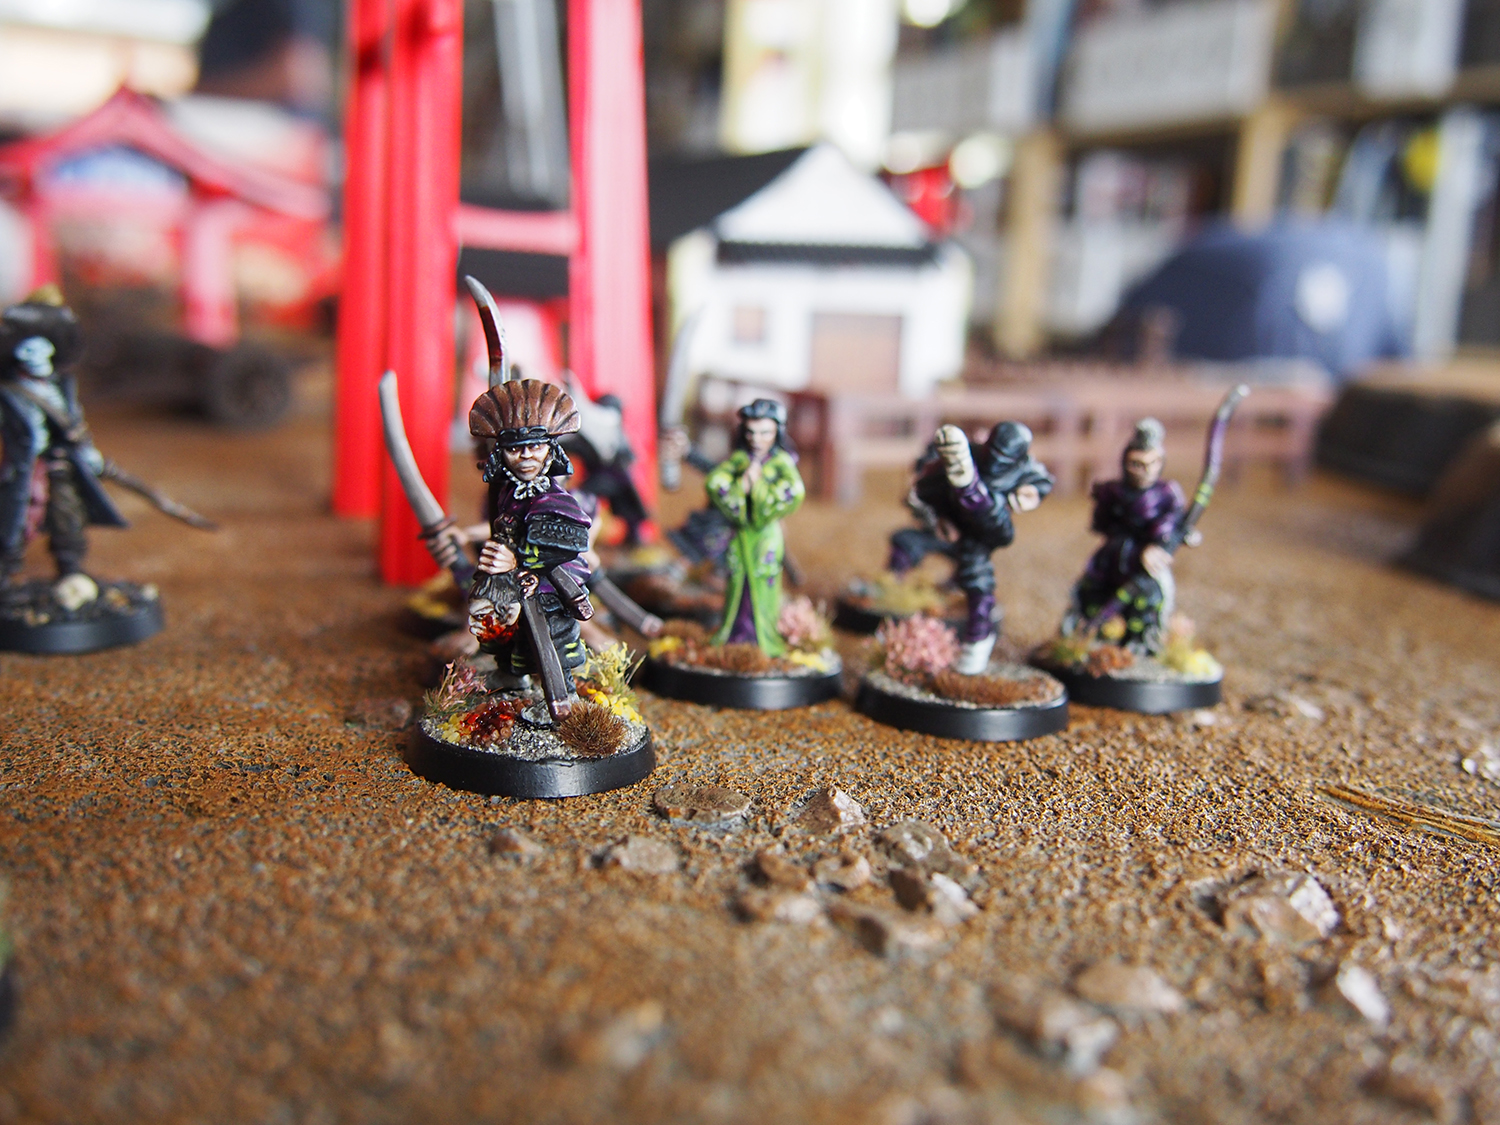
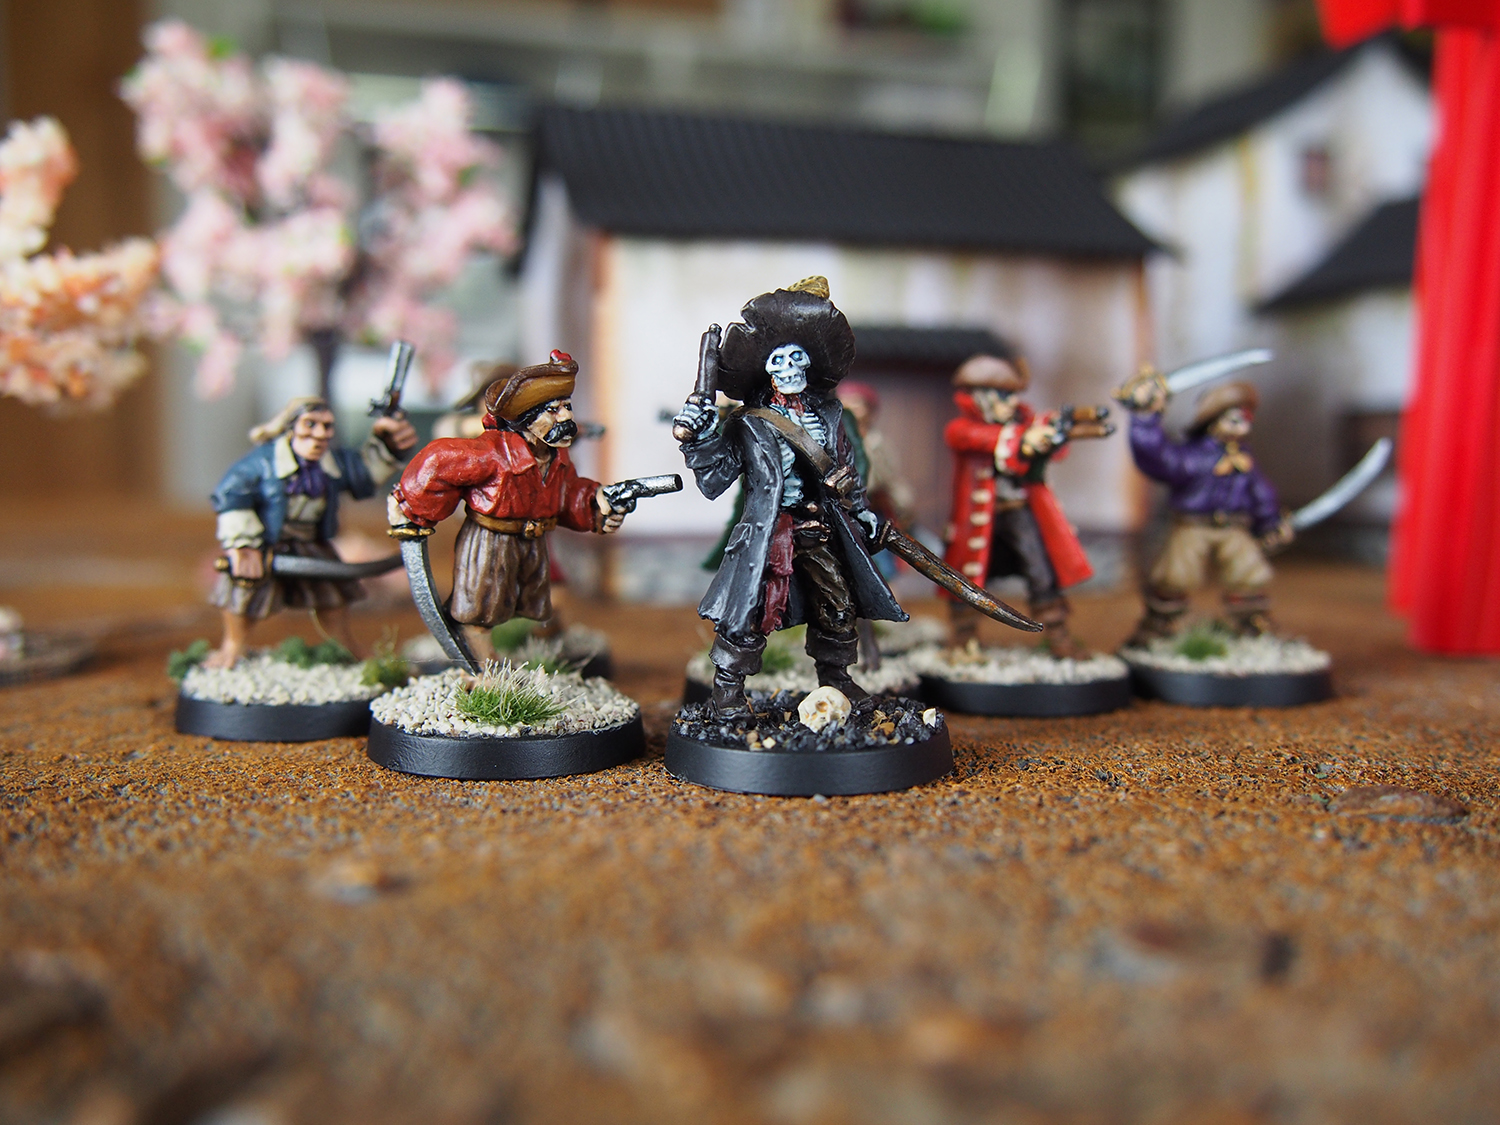
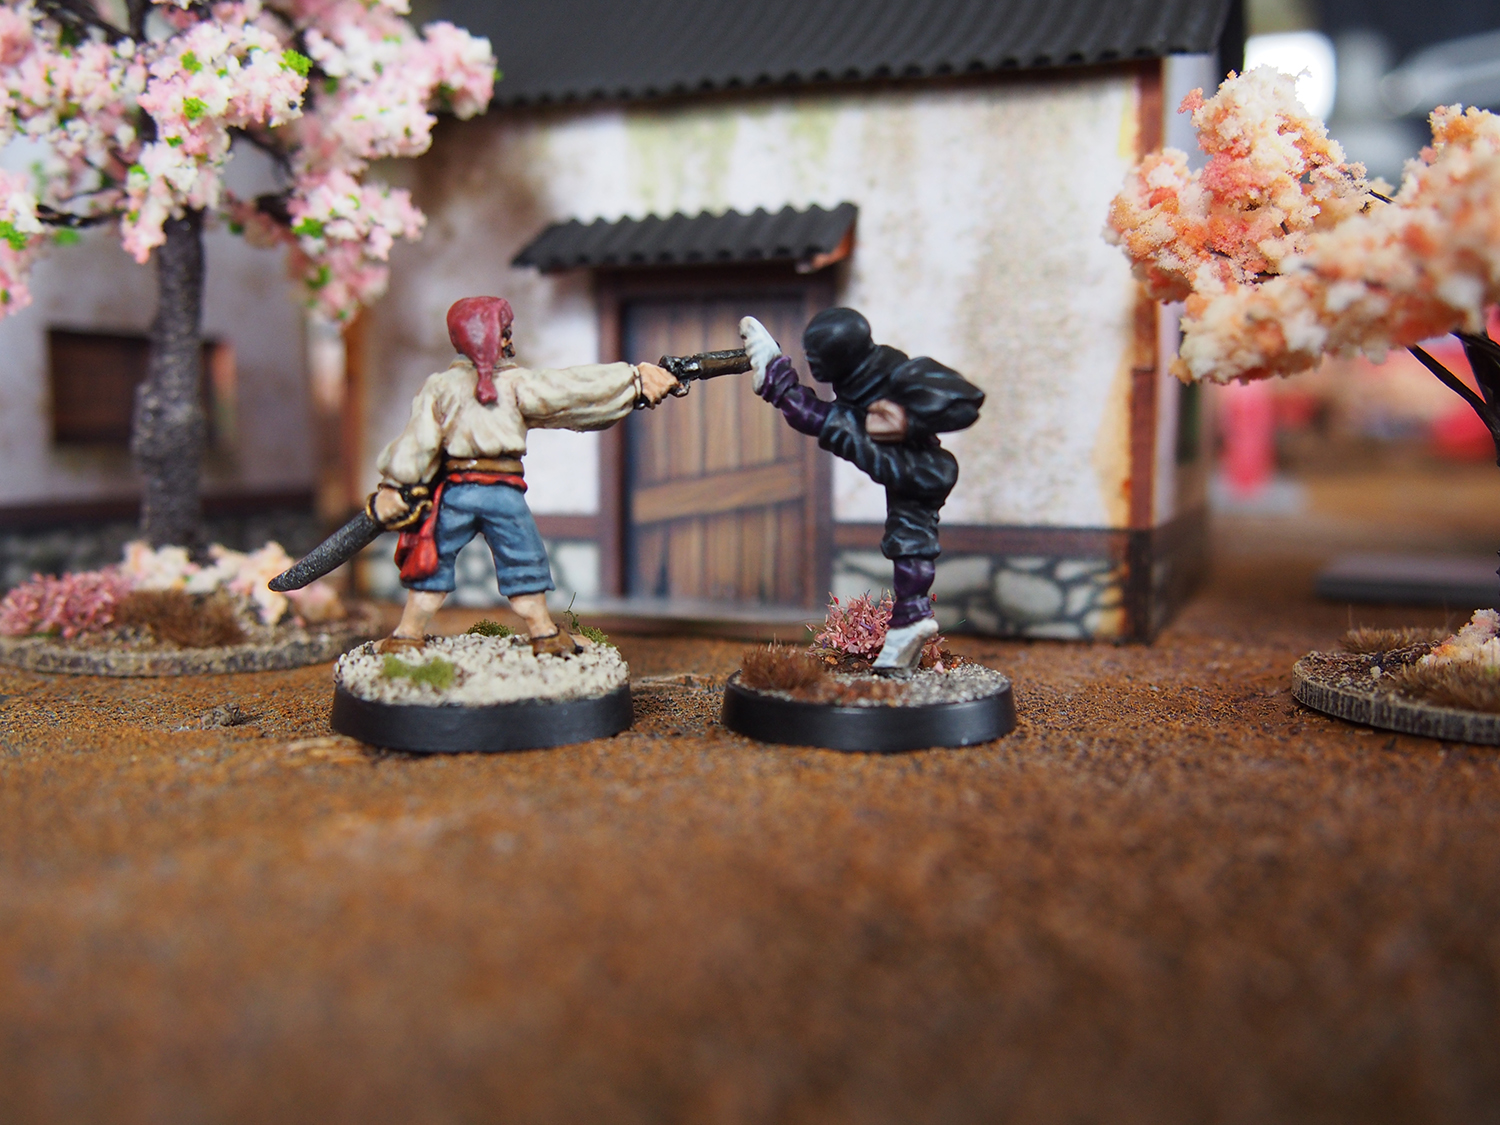
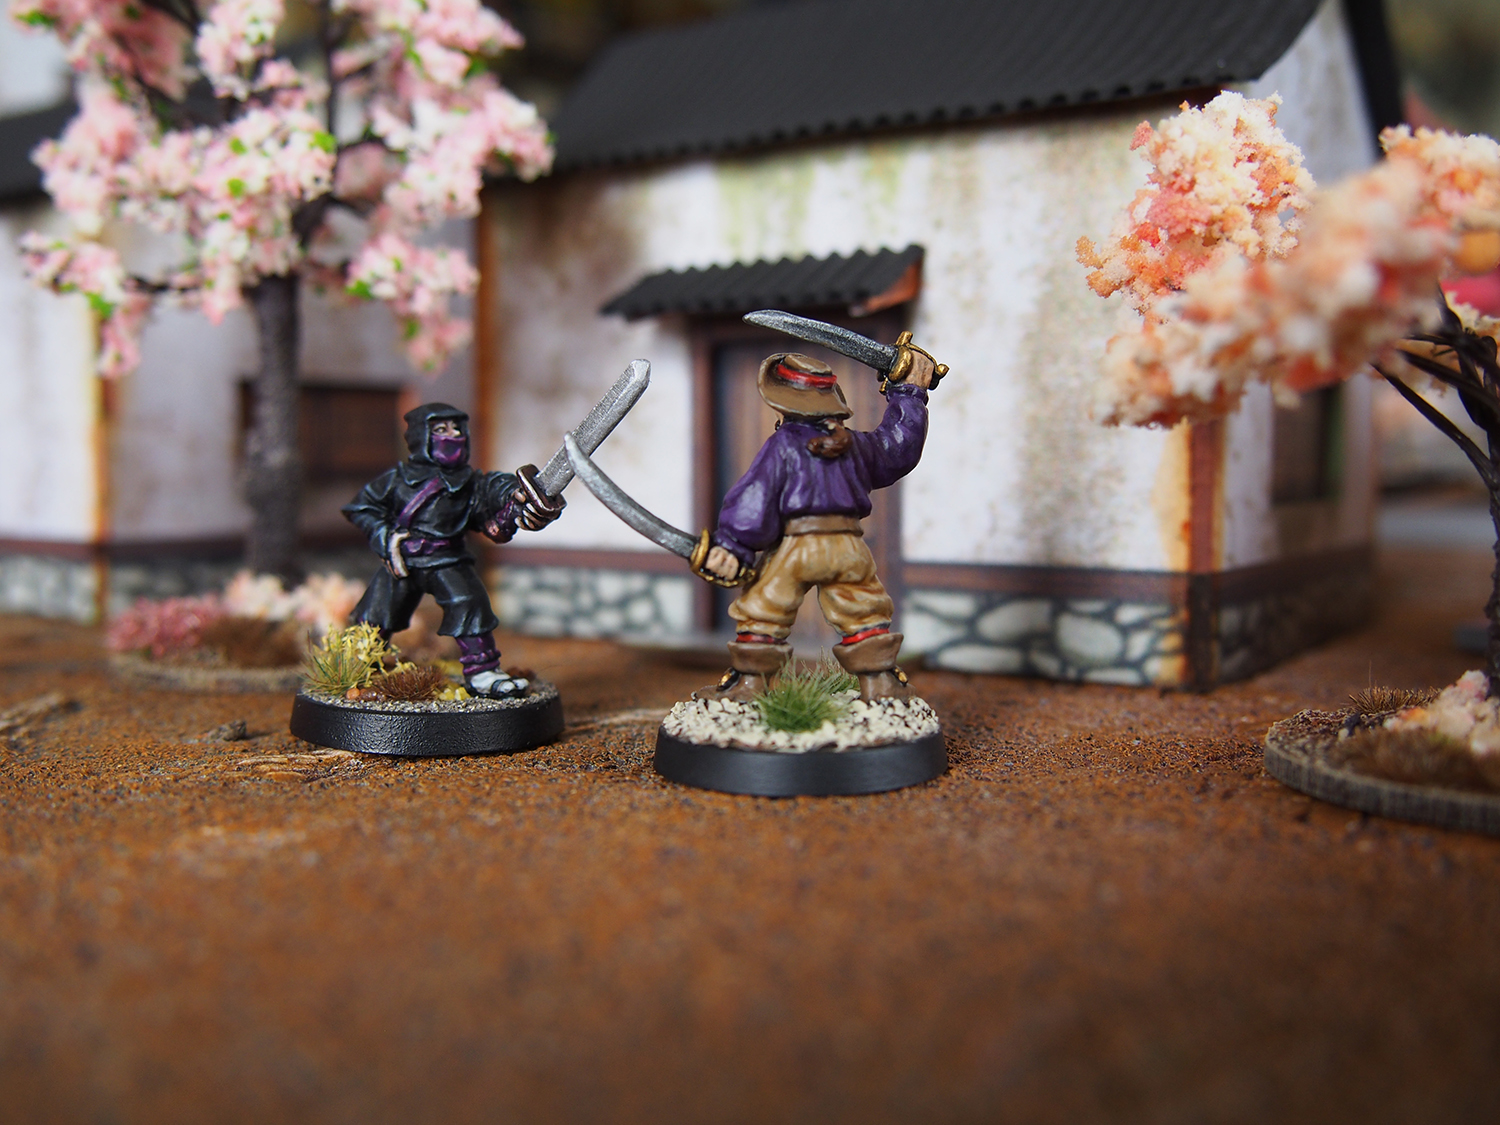
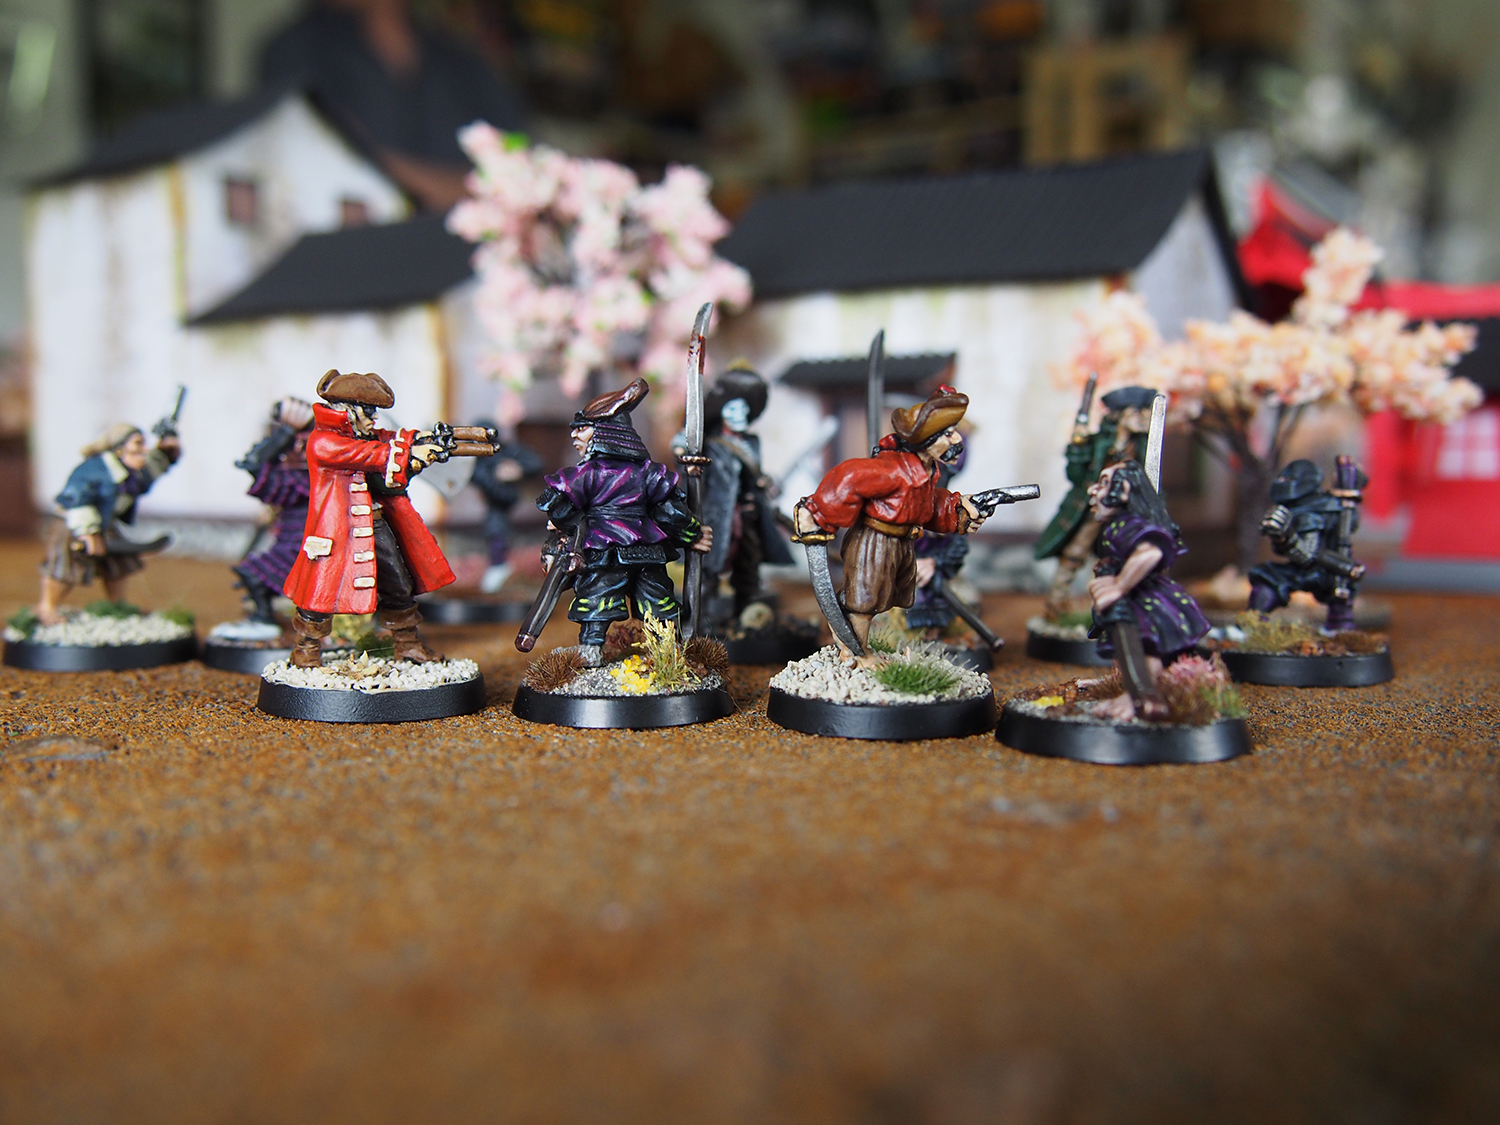
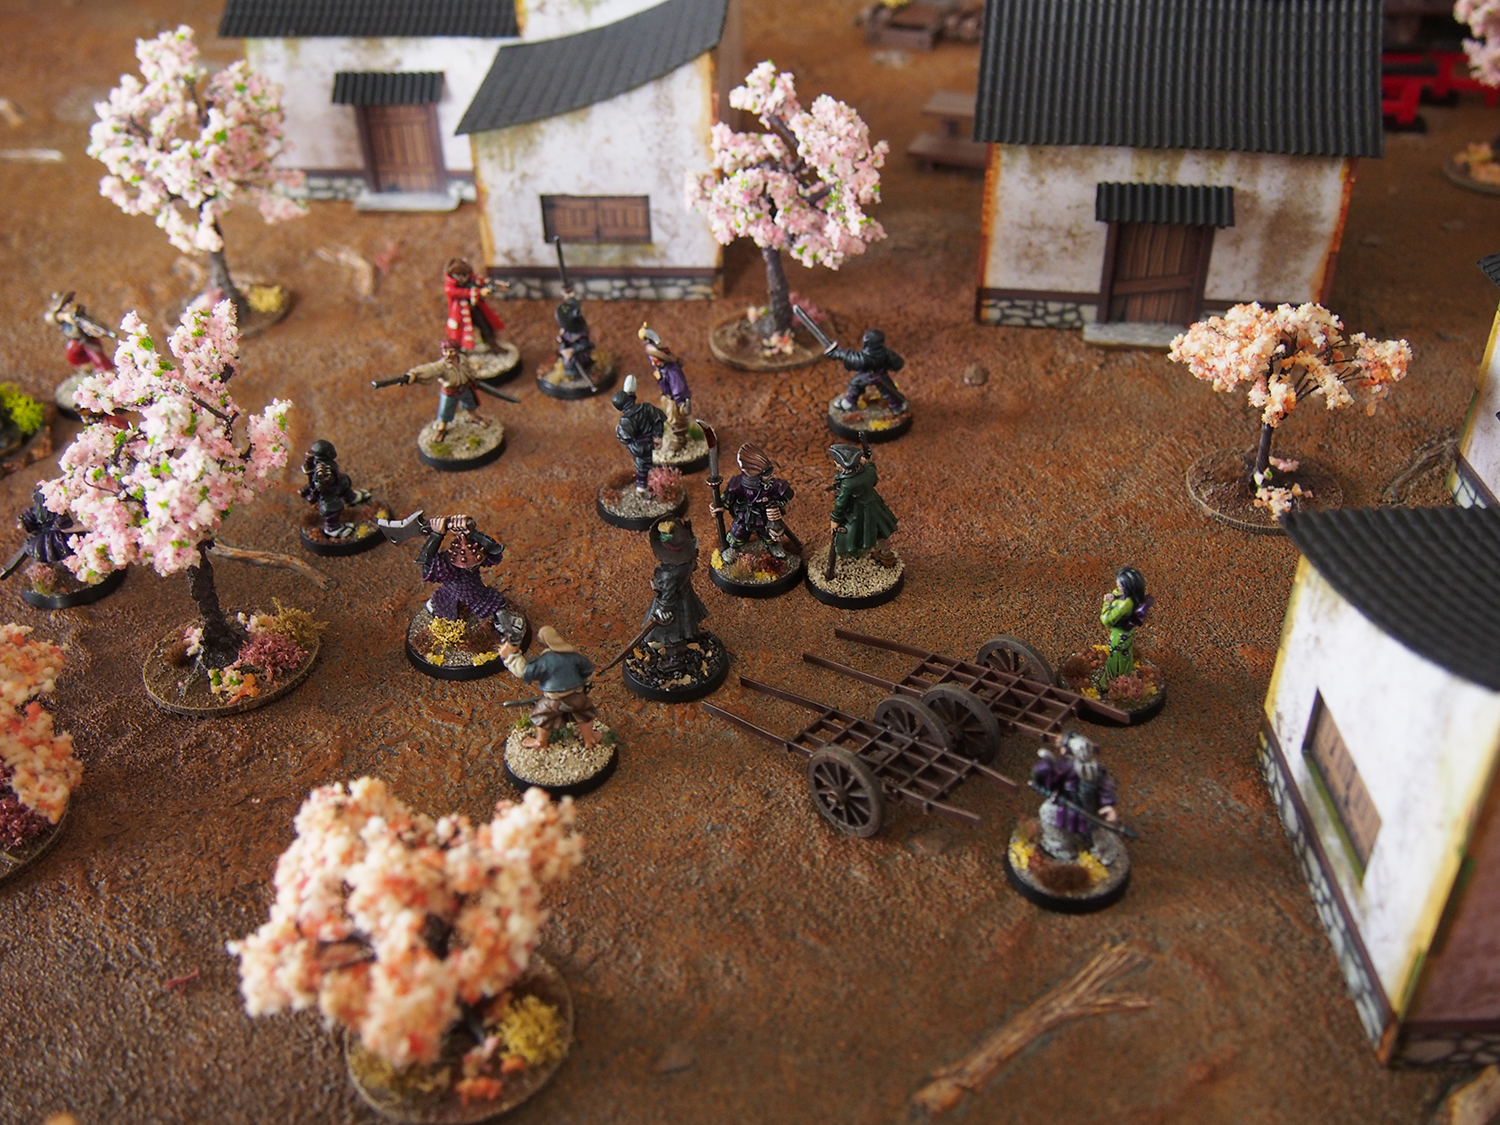
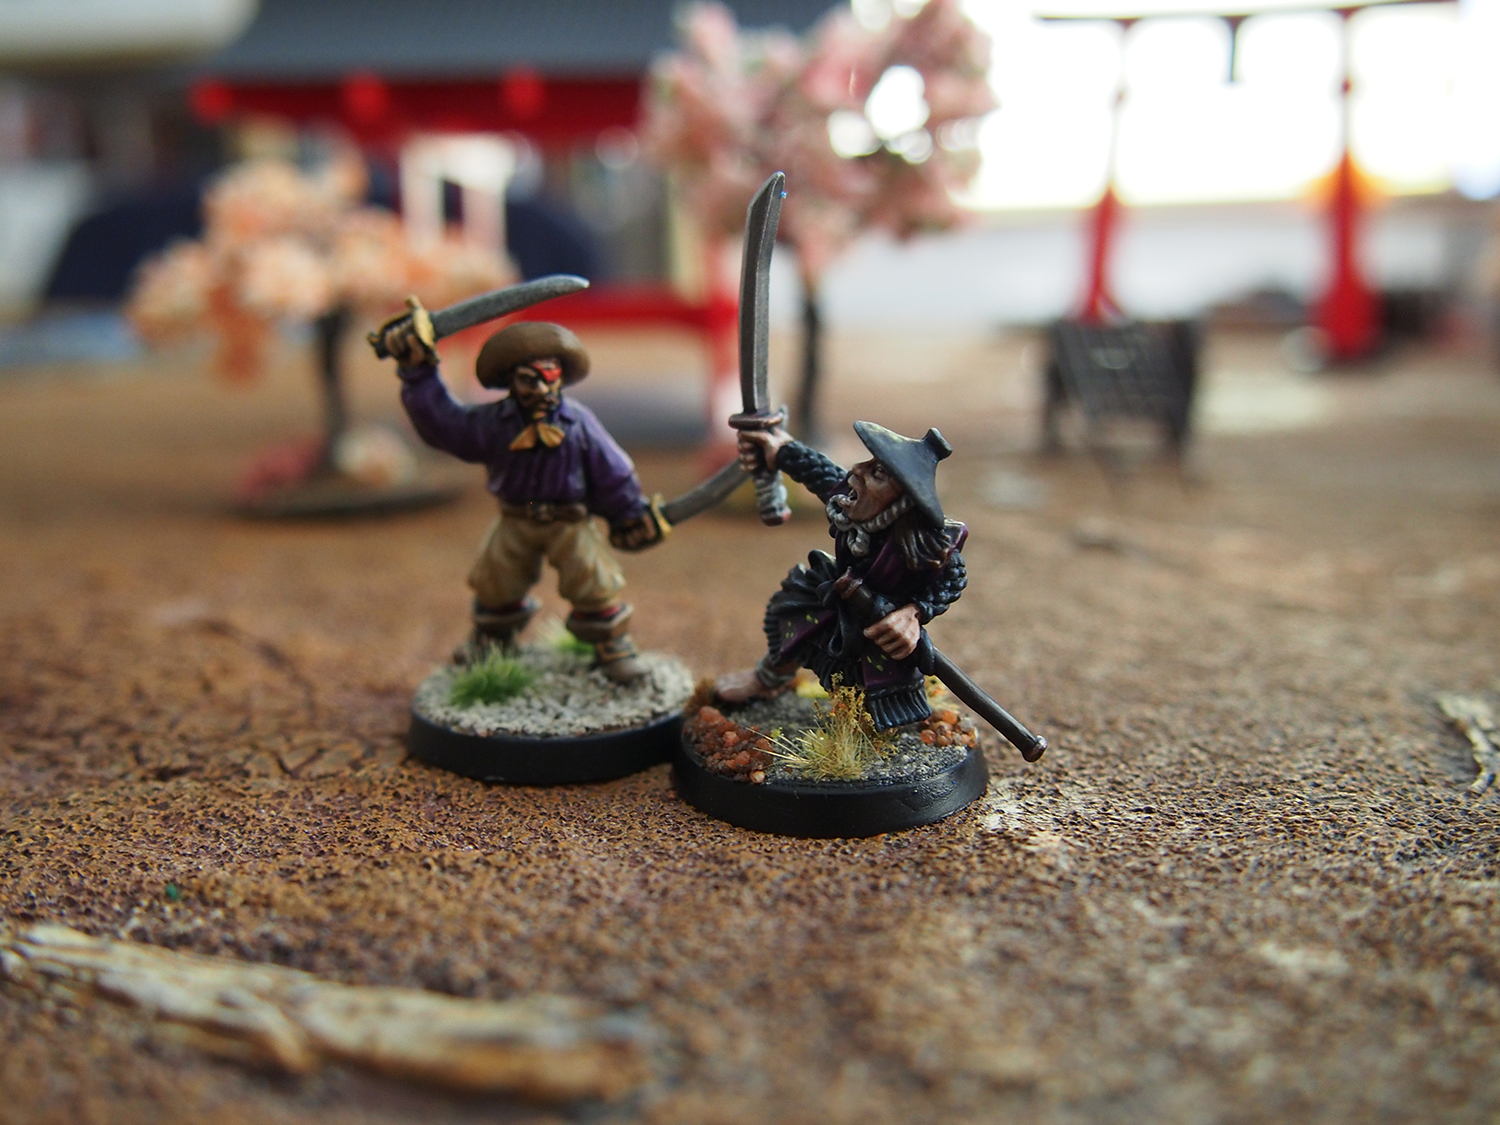
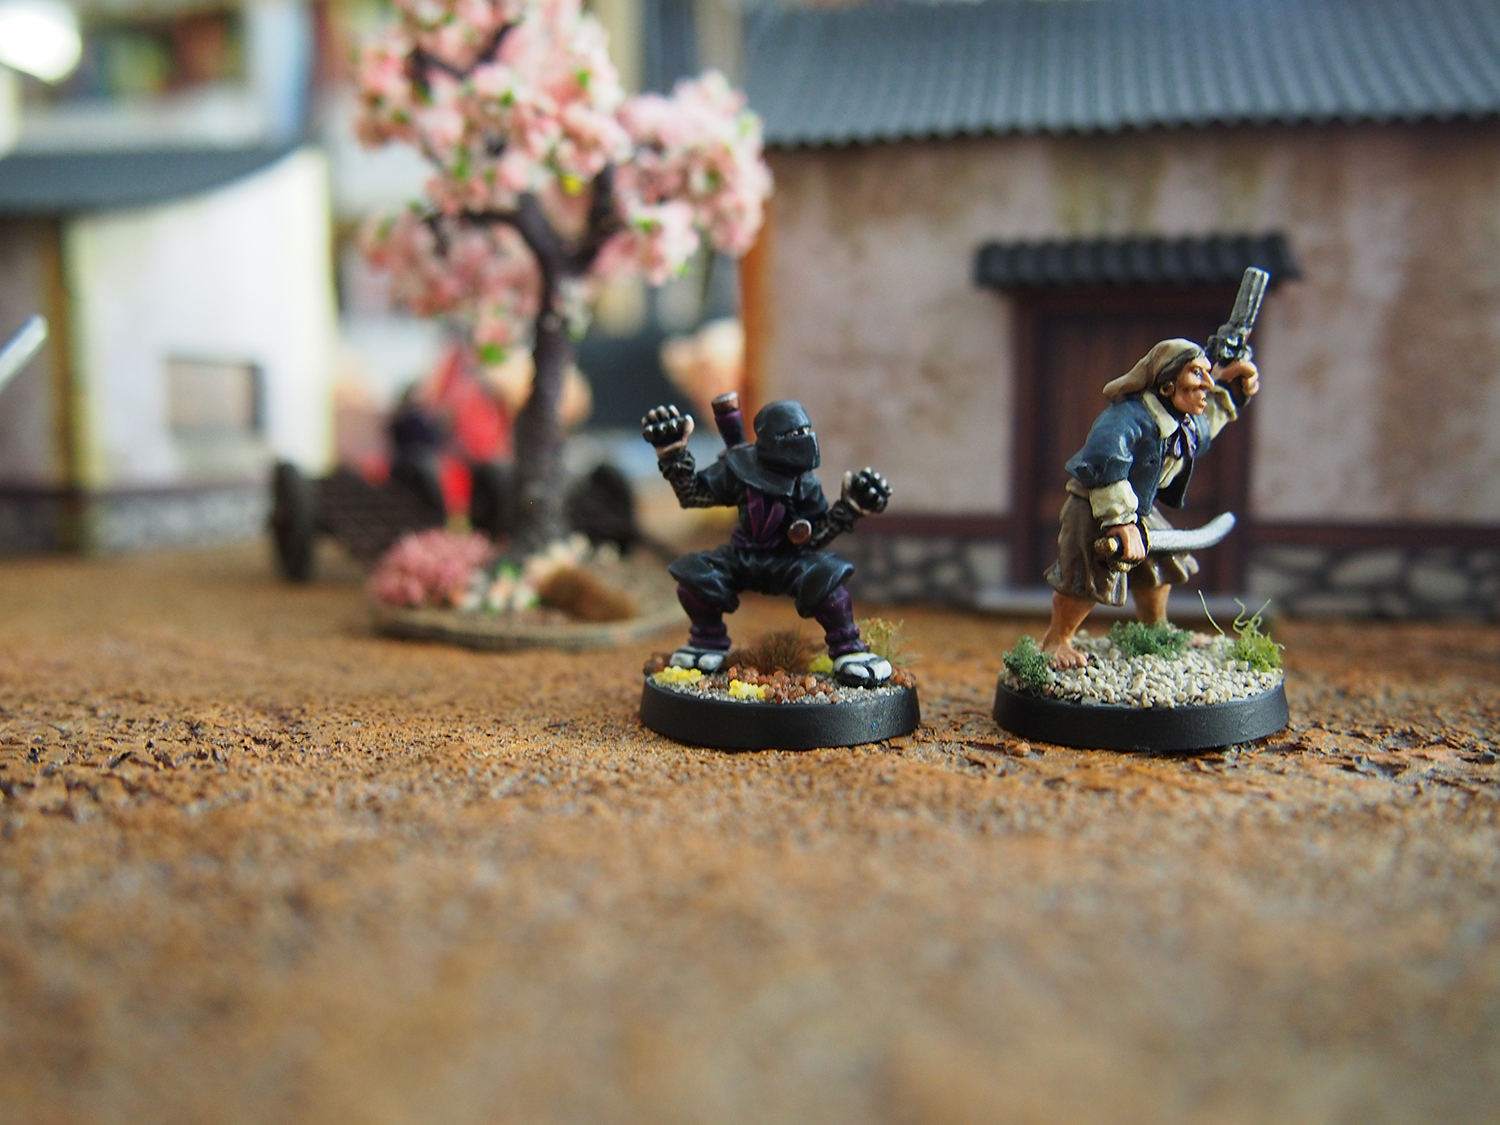
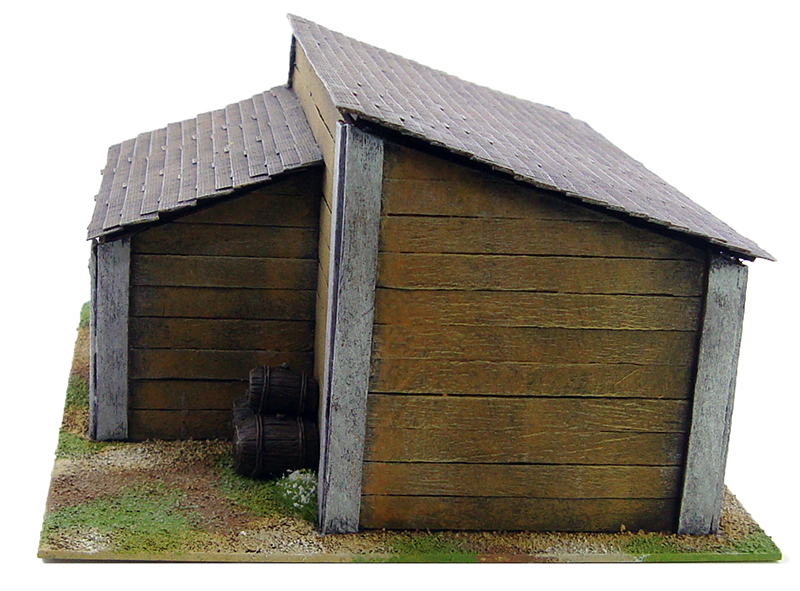
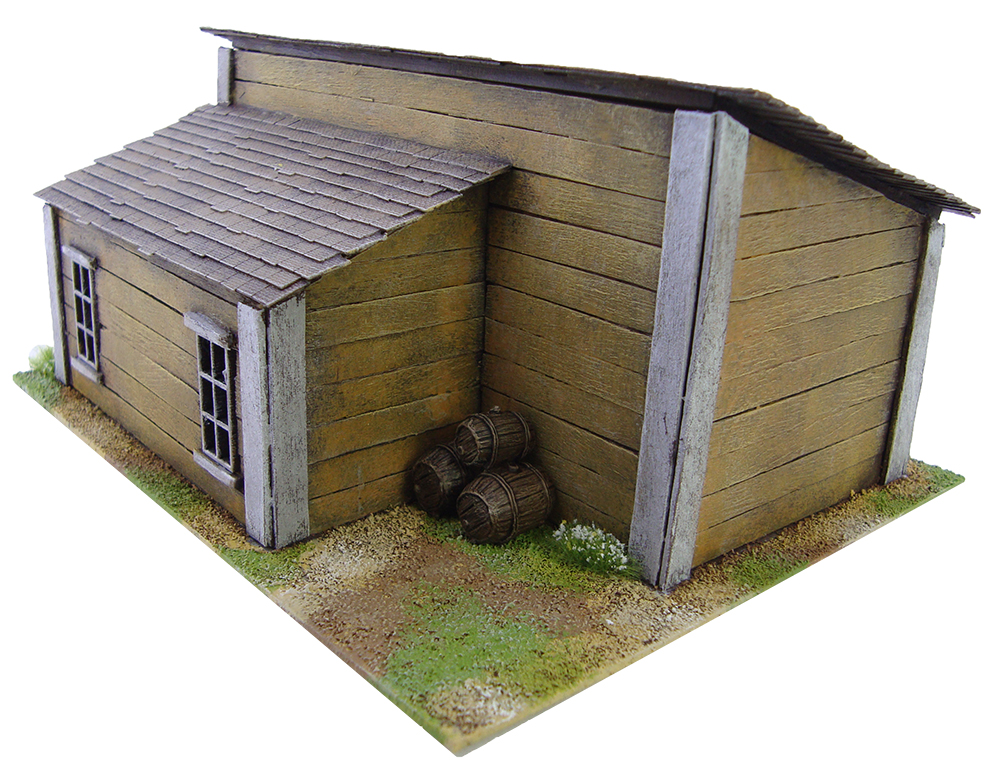
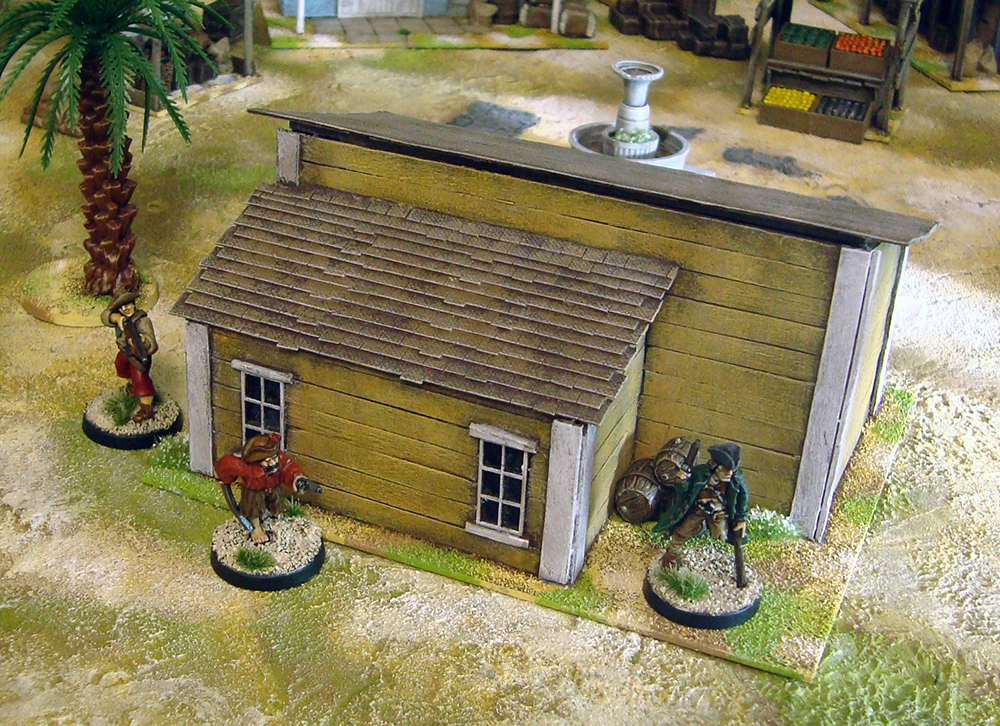
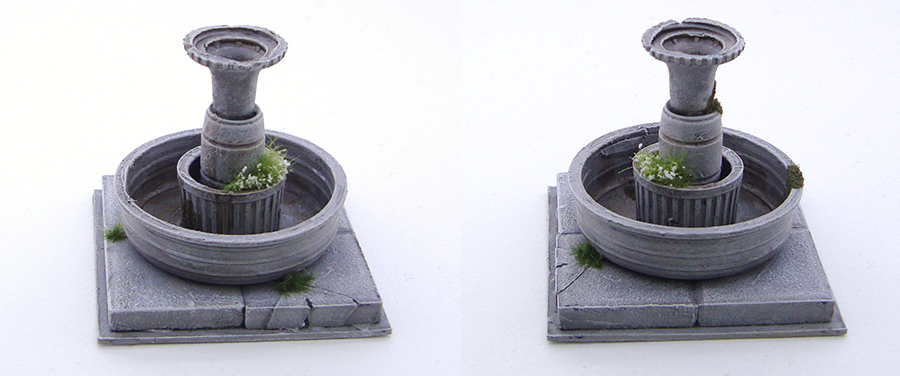
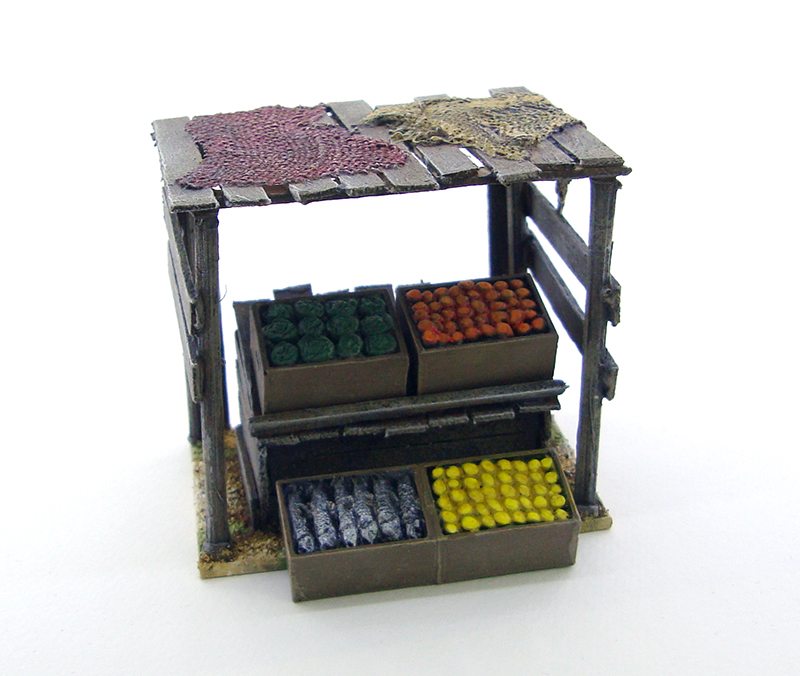
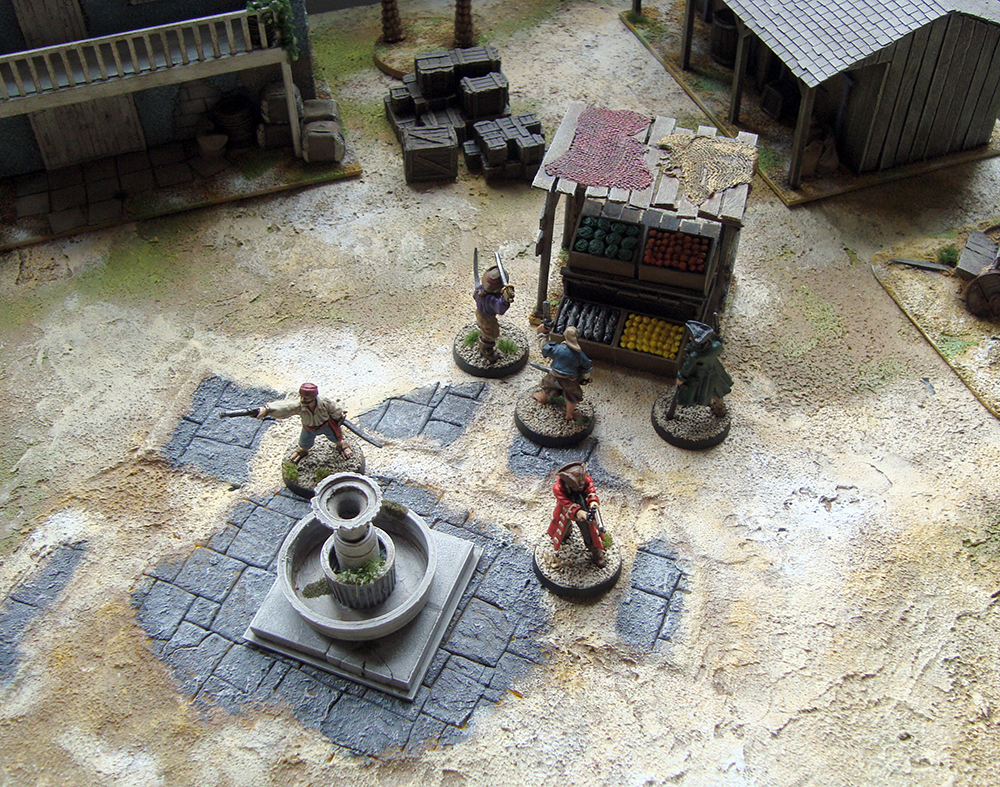
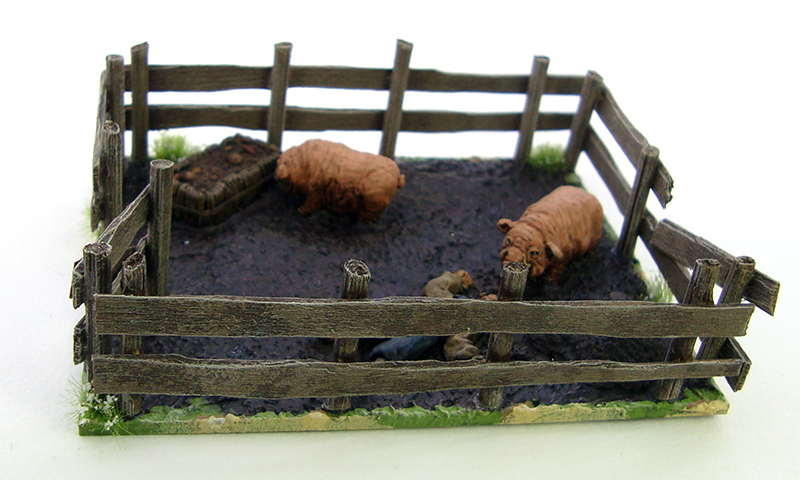
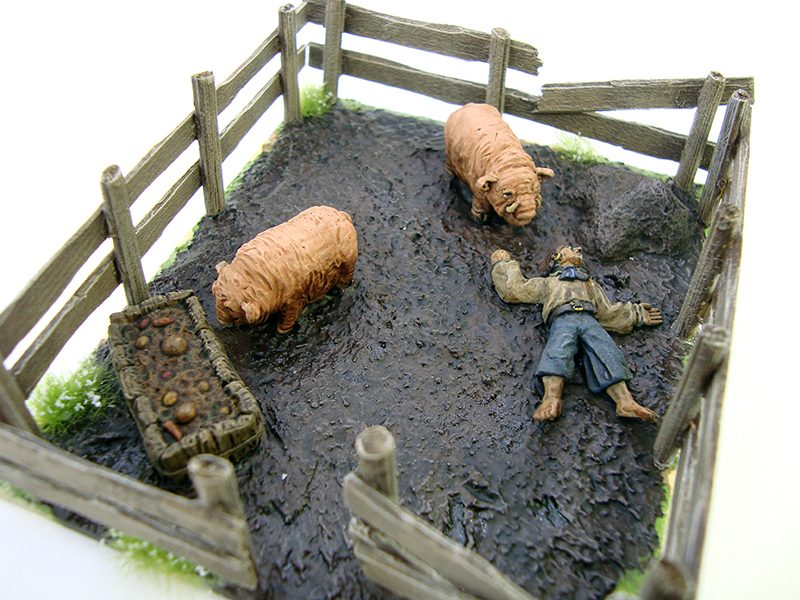
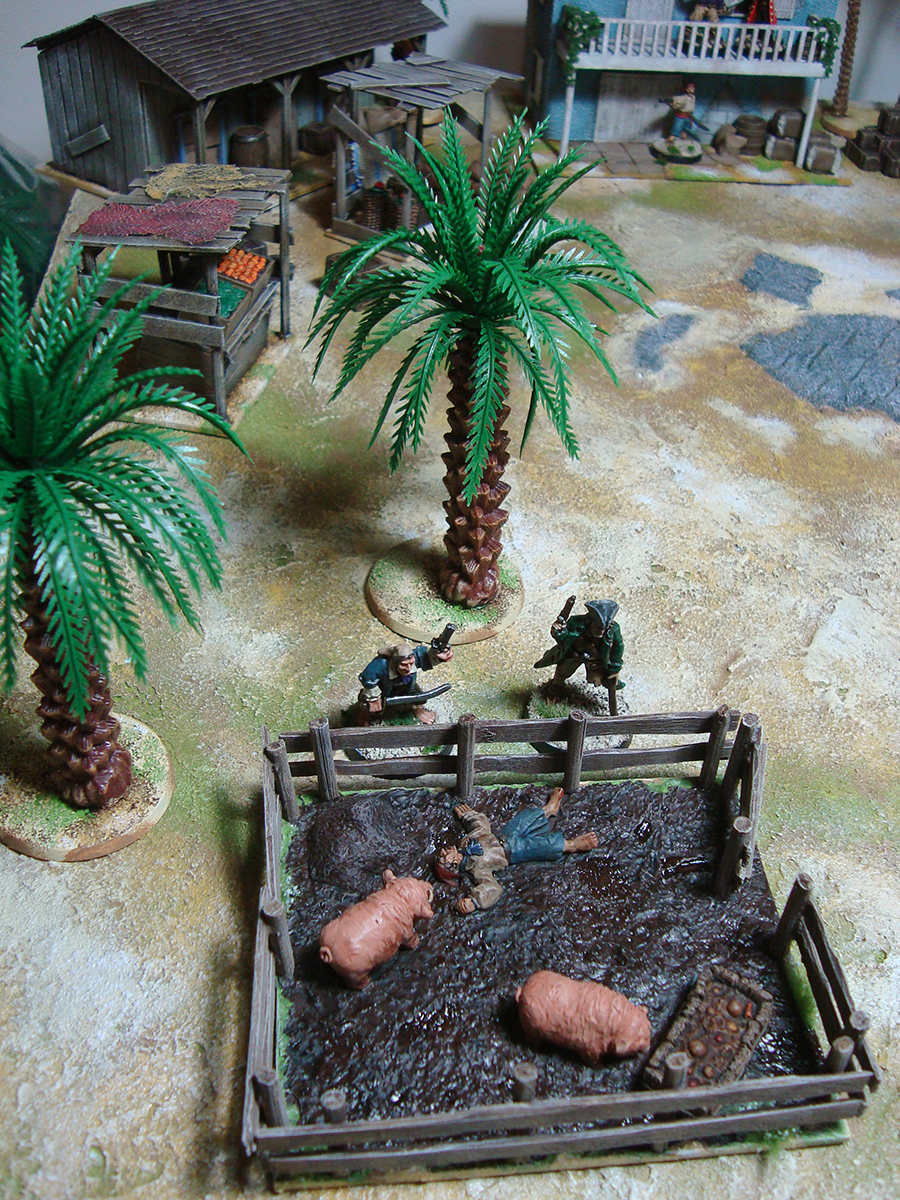
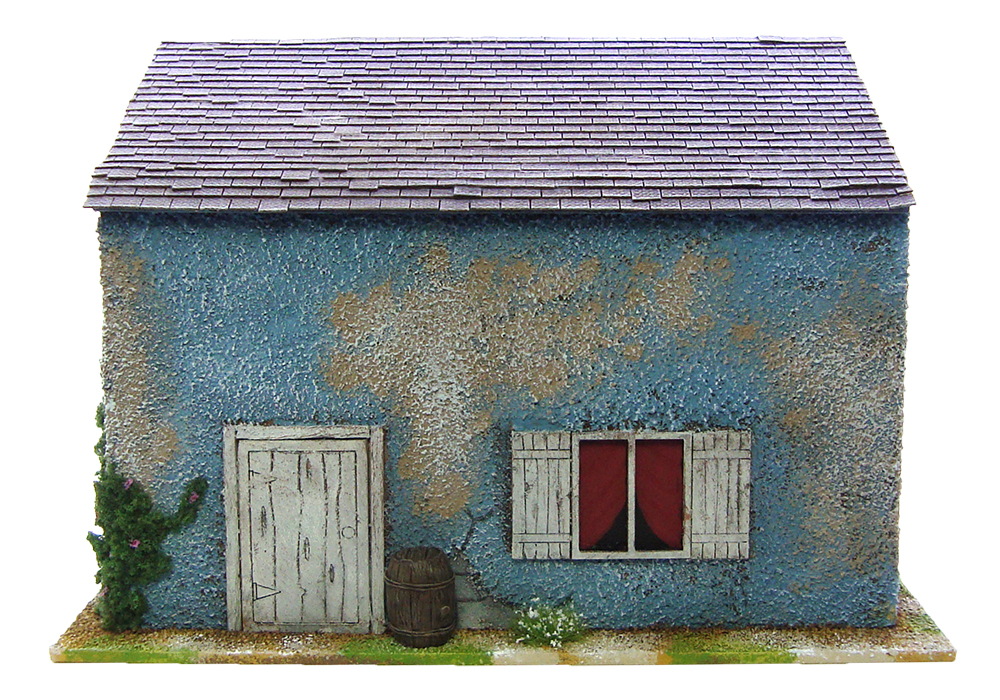
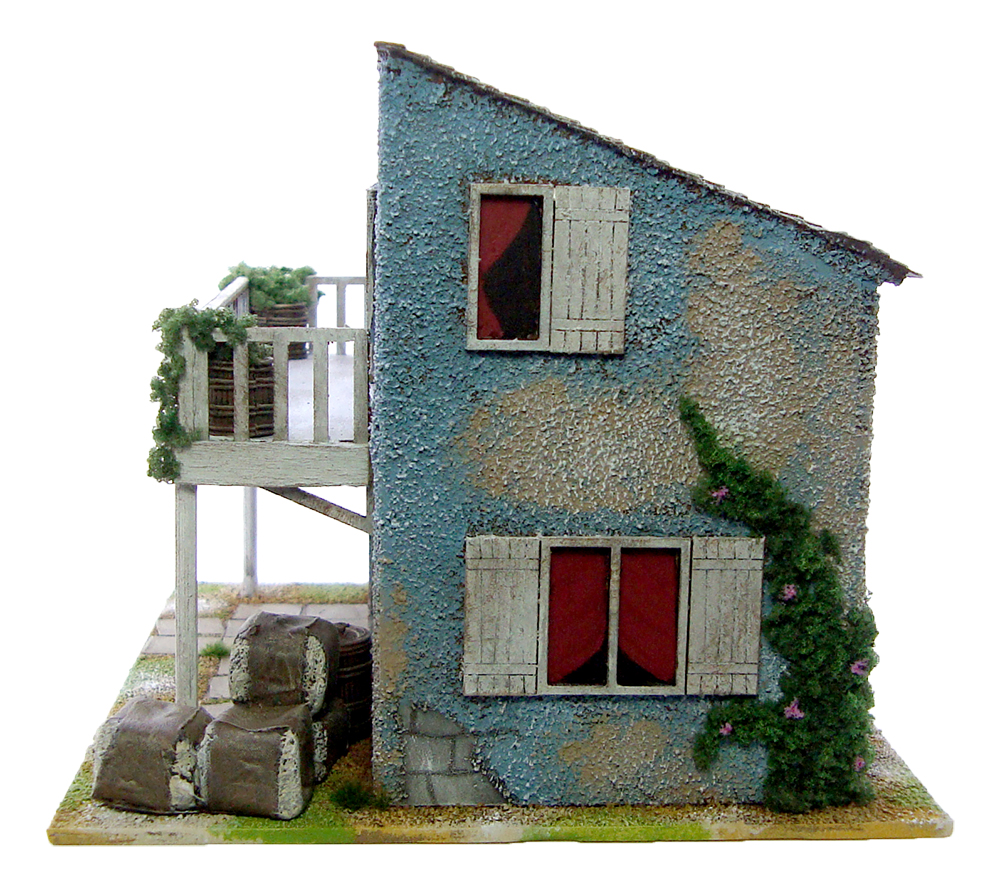
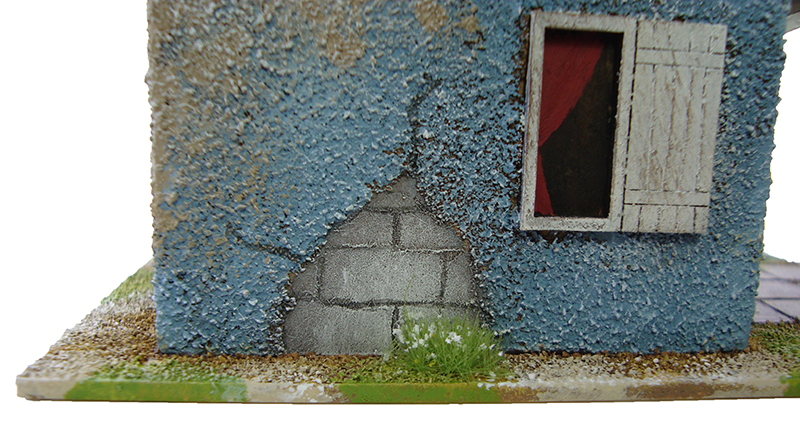
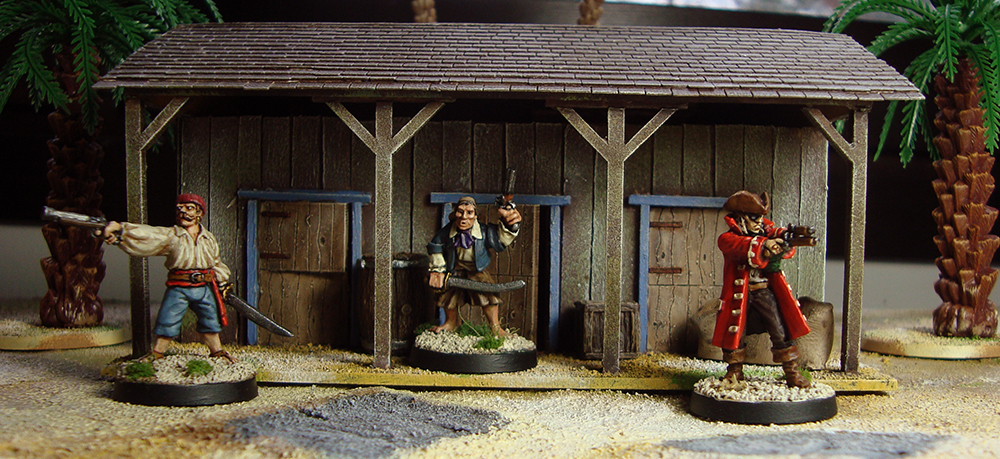
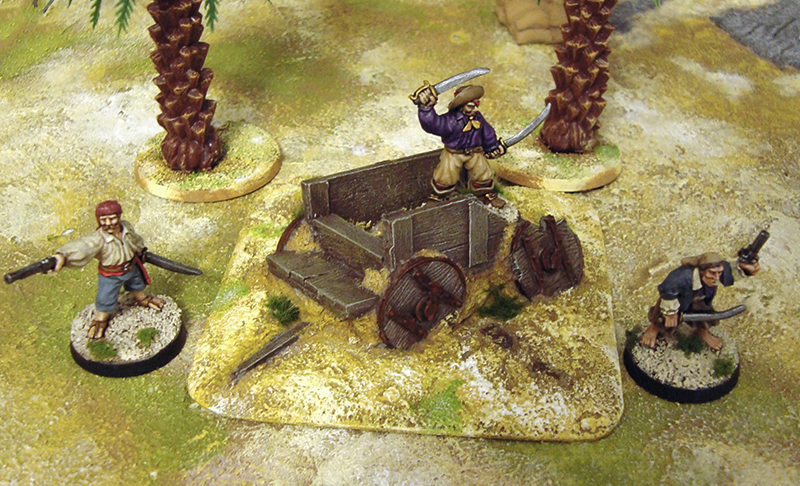
The board pictured is related to the case

Remember back when I showcased my pirate terrain board? Little did I know back then, that it would cause me a bit of a headache!

The reason for my woes is the tackiness of the board. No, I’m not talking about bad style choices, but rather the caulk not drying properly and remaining a little sticky – either because I painted it before it was completely dry, the paint reacting with the caulk or this simply being a feature of the caulk. I noticed this early on in the process, but figured that time would take care of it. Indeed, that’s what seemed to be happening, as the table was getting less and less tacky, making me breathe a sigh of relief. Imagine my surprised disappointment when I went to move my buildings and miniatures around on the board after they’d been sitting there for quite some time, and noticed that they were firmly stuck to the board! I didn’t break any pieces when pulling them loose, nor was the table’s surface broken, but it was enough to get me firmly thinking I need to do something to the table. While it is a completely playble surface as long as you don’t leave stuff on it for days, it’s things like this that just…bug me. I don’t like to call it perfectionism, but rather a super low tolerance for mildly annoying stuff.

So far I’ve tried one thing: painting a small section of the board with matt varnish, with the idea that it might form a non-tacky layer. This didn’t work. I’ve now done the same with watered-down PVA, and I’m currently waiting for it to dry. If this doesn’t work either, I’m left with a few options:

  1. Resort to flock and static grass. This isn’t such a bad idea! I’ve been thinking I should give the board more greenery anyway, and this would be a fairly straightforward operation. The only downside is the money and effort required for getting suitable styles of flock and static grass.
  2. Get a printed gaming mat. Quick, easy and simple. Downsides are price (50-70€ vs. materials I mostly own already) and my preference for textured surfaces compared to flat ones.
  3. Repaint my Zuzzy mat. Not an impossible idea. A bit of work, and would rid me of my usefully generic gray gaming surface…then again, it rarely gets used these days and it’s really nice. I actually hadn’t thought of this before I started writing this post!
  4. Start work on a new board. This is always an option, although it might be somewhat time consuming. I’d do it without the caulk this time, so basically a simple paintjob on the foam sheet and then see 1, above.

Of course, all of this will leave me with the question of what to do with my current board – unless I manage to fix it or end up flocking it. Binning it completely would hurt my soul, so I might perhaps find a new home for it somewhere where the slight tackiness isn’t a huge issue. Another option, as suggested by Paul of sho3box, is to cut up the board and use it as hills. This isn’t a bad idea either, and would mean that not a lot of my work would be wasted. Decisions, decisions…

Feedback, sympathy and ideas welcome!

h1

Super pop culture showdown!

July 27, 2016

You’ve heard of pirates vs. ninjas, haven’t you? It’s one of those pop culture tropes that just sort of sprung up, most likely [citation needed] through the following chain of reasoning:

  1. Everyone loves ninjas.
  2. Everyone loves pirates.
  3. Ninjas are tougher, though.
  4. No, pirates are.
  5. Pirates vs. ninjas it is.

I’ve long known Paul “Cheetor” Shorten – who runs the wonderful sho3box blog – from the miniatures blogosphere, as we started our blogs around the same time and were both initially blogging about zombie miniatures. He’s lately been working on his wonderful pseudohistorical fantasy Japan project (see the tags Shonen Knives and Kurîpu jima), and with me working on my pirates…it figures. When I made the travel plans for our Spring UK trip, we threw in a week in Ireland and set aside time for a blogger meet-up! This gave us not only the chance to spend some quality time with Mr. & Mrs. Cheetor, but also the opportunity to put the question of pirates vs. ninjas to rest through the gentlemanly art of wargaming.

I won’t bother with a long write-up of the game itself. It was a fairly quick one, using the Song of Blades and Heroes mechanics roughly cobbled together from various Ganesha Games titles. The dread undead pirate captain Armitage Shanks brought his dastardly crew to the peaceful town of Kurîpu Jima to steal their obviously cursed treasure.

To be honest, we kept the game short and sweet, spending much more time setting up the table and talking about miniatures, wargaming and everything related long into the night. The result of the game, perhaps luckily, didn’t solve the question of pirates vs. ninjas – Cheetor’s ninjas soundly destroyed my pirates in combat, yet what was left of wily captain Shanks’ crew managed to make off with the treasure.

Without further ado, here’s a bunch of photos! Most are fantastical reconstructions instead of actual in-game pictures. You can click on any photo for a larger version.

All in all, we had a great time! My sincere thanks to Cheetor and Mrs. Cheetor for accommodating us and making all this possible. It was a pleasure playing on such a beautiful table against such a gentlemanly opponent. I was very happy to finally get to meet a fellow blogger who I think of as a friend after years of online-only communication.

h1

Pirate housing

April 11, 2016

I’ve managed to finish another building for my pirate town. This is another one from Warbases – a combination of their single storey modular building and a piece from the lean-to set. I’ve covered them in coffee stirrers, and hidden rough spots with more coffee stirrers. The window sills and lintels are made from matchsticks, and the roofing tiles are laser-cut strips also sold by Warbases. The flowery grass tufts are from The Army Painter and the barrels are from Ainsty.

Click for a larger version

Click for a larger version

Click for a larger version

Click for a larger version

Click for a larger version

Click for a larger version

Click for a larger version

Click for a larger version

Click for a larger version

Click for a larger version

I wanted to paint a different colour from my usual fare, so went for a yellow finish. Yellow tends to be a right pain to paint, so I was happy that I could make it intentionally grubby. The end result is fairly pleasing and adds another touch of colour to the table. The building is intended to be fairly generic, representing a typical house in the pirate town.

This piece is my last hobby production for a while, because next Tuesday I’m off for a five week trip to the UK and Ireland with my girlfriend! Plenty of hobby related things in store on the trip, from Salute in London (let me know if you’re there, come and say hi!) to visiting Warhammer World in Nottingham to some pirates vs. ninjas gaming hosted by Paul who runs the wonderful sho3box blog. Add to that all the museums, geeky stores and battlefields, and I’m in for a treat! I will be updating the blog as I go – and as I have time – but understandably no new miniatures or scenics will be finished during April and most of May.

Comments and everything else welcome, dear readers!

h1

The fountain of de-slump

April 3, 2016

Brought on by a combination of a cold, plenty of things to do and a general lack of inspiration, I’ve been having yet another of my painting and modelling slumps. Yesterday I was finally able to break it with a few small things, and I’m back on the right track again!

I finally got to work on the fountain originally shown in this post and also finished the second one of the two market stalls. They’ve been sitting half-finished for a long while – as often tends to happen to pieces that require only a little somewhat dreary work to finish. This makes completing them even more satisfying.

The fountain was given a coat of VGC Stonewall Grey followed by successive coats of a lighter grey (I just added white to the base colour) and pure white. After that I grubbied it up with Citadel Agrax Earthshade and Nuln Oil washes and glued on various tufts and flocks to show the fountain has been out of use for quite a while. For something built mainly out of trash, I think it looks fine, and the details help draw the eye away from its humble origins.

Click for a larger version

Click for a larger version

It wasn’t until I’d finished painting the second market stall, that I realised the scale was somewhat off – the boxes on the stand were really high for a 28mm mini to reach. I rectified this by painting up two more boxes and placing them on the ground, which I think helps somewhat. To stay on a quasi-historical track I filled two of the boxes with oranges and lemons, as they were eaten to combat scurvy. Fun fact: did you know the word limey used to describe Englishmen comes from the British Royal Navy’s 1795 policy of issuing lime juice to sailors for scurvy prevention? I didn’t. Anyway, the fruit add a lovely touch of really bright colour to the table. The boxes of goods are from Ainsty Castings.

Click for a larger version

Click for a larger version

This is how they look on the table. Two vigilant pirates keep watch while their friends go grocery shopping.

market

Click for a larger version

That’s it for now! I have another Warbases building almost finished, so that will likely be up next. Looking to finish a few more things before taking off for the UK on April 12 – more on that later!

h1

Here, piggy piggy!

March 14, 2016

Pirates ought to be somewhat dirty. The actual, historical pirates were a rowdy, often heavily drinking bunch, and this has of course been carried into popular culture as well. There’s a fun scene in the first Pirates of the Caribbean movie, where captain Jack Sparrow wakes up his trusted first mate Gibbs, who’s dead drunk in a pigsty:

gibbs

The scene fit my ideas of my own 28mm pirate town perfectly, and I wanted to build a little set piece of a drunk pirate passed out amongst pigs. I did some quick online shopping, buying some pirate casualties from Foundry and some pigs and assorted items made by Ristul’s Extraordinary Market. Both the pigs and the pirates are characterful sculpts, and I love the various accessories, the trough filled with slops especially.

I had a fairly large plasticard offcut that I used as a base. I simply slapped on acrylic caulking, stippled it with an old sponge and stuck the miniatures on, resulting in this:

Click for a larger version

Click for a larger version

After that it was just dirty, dirty painting. I really went to town with washes – after all this was supposed to be someone who has stumbled into a pig pen dead drunk and then passed out. I even painted some vomit on his chin and chest to make him a bit more disgusting. I let the brown wash (GW Agrax Earthshade) pool up in various areas to make the mud look more…muddy.

With the miniatures painted, I built the fences from bbq skewers and coffee stirrers using this very handy tutorial:

The idea of whittling down the coffee stirrers for a more irregular look is so simple that I feel really dumb for not thinking of it. It makes for a very nice looking ramshackle fence. I made sure to make the fence uneven and rickety. I painted the fences before sticking them on, painted the edges of the base to match my gaming board and as a final touch I added some flowery grass tufts around the pen for a more natural look. Here are pictures of the finished piece:

Click for a larger version

Click for a larger version

Click for a larger version

Click for a larger version

Click for a larger version

Click for a larger version

Click for a larger version

Click for a larger version

Click for a larger version

Click for a larger version

Click for a larger version

Click for a larger version

And here’s a shot of the pig pen in (simulated) action, as two pirates check in on Philip the Frenchie after yet another of his nights of rum-fueled shenanigans:

Click for a larger version

With the pig pen finished, I think I need to paint up pig farmer Brick Top as a homage to one of my favourite movie performances ever, Alan Ford in Snatch. The fellow will fit right in with other scoundrels.

All of a sudden, those pigs are looking a lot more sinister…

Feedback welcome and appreciated as always!

h1

From the painting desk #39 – A pirate in a hurry

February 28, 2016

It’s almost March and I’ve only just painted my first miniature of the year. Ok, in my defense I’ve mainly worked on terrain, but still…

Anyway, here’s a running pirate! He’s another Foundry one, and like all the others, a nice and characterful sculpt. For his shirt I went for the colourful-but-grimy look, which came out decently enough.

pirate3

Click for a larger version

I had to fix the hand holding the sword a bit – either I’m completely misreading the miniature, or there’s some very lazy sculpting there. The hand didn’t really seem to be holding anything, the grip of the hilt was just sort of on top of the hand. I added a lump of ProCreate putty to make it look more natural.

With my impeccable sense of humour, I also present the obvious reason for the pirate’s running state. It also conveniently allows me to show the outhouse by Ainsty that I recently painted up. The outhouse was a fun little diversion, as it was very quick to paint and is a nice piece of scatter terrain. The good thing about painting this kind of model is that it’s supposed to look ramshackle, so you can just flail away with the paint and it still looks suitable. So here it is in all its glory, ready for some cagafuego.

Click for a larger version

Click for a larger version

So, first model of the year, but the project is moving along nicely. Comments…ah, you know it already.

h1

Shabby chic

February 22, 2016

Another finished Warbases building, one of their range of modular, simple pieces. Now, when I say simple, I really do mean simple. The basic modular building is a featureless box with a slanted roof. Of course, this makes it perfect to modify, which is why I bought quite a few. I originally intended to make a Spanish Caribbean style town which is why I bought the original few. My vision changed, but I still wanted to use the buildings of course.

After the stable, I wanted to build something a bit more fancy, yet in the same run-down style. That’s where the in-game story for the building started. I’ve found that much the same as with miniatures, providing a mental backstory to a building helps me make it more interesting and detailed. As the whole idea of my town is that it’s a British trading outpost that has slowly slid under pirate control, I figured that there would be some fancier buildings for the officials and other upper crust types. This building was maybe once owned by the local magistrate or a rich trader. After being taken over, it has slipped into decay a bit, but is still impressive.

Click for a larger version

Click for a larger version

Click for a larger version

Click for a larger version

I wanted the building to look both shabby and impressive at the same time, so while I made it plastered (to set it apart from most of the other buildings that will have wooden exteriors) I made sure to make the plaster cracked and the nice blue paint faded and dirty. I added a balcony from Warbases and put in some extra decoration using coffee stirrers, and made supporting and decorative columns from barbecue skewers. The balcony and the window frames and shutters were all painted white, but heavily weathered in keeping with the run-down look. I also added a small patio from squares of card, but made sure that stones were missing and some misaligned. The roofing was done using the laser-cut sheets available from Warbases.

While I wanted the building to look worn, it needed to show that whoever was inhabiting the place still appreciated it. The next few steps also came from necessity.

First up were the windows. While I’ve now bought windows with smaller panes, the original ones were great, big, abyssal black holes in the walls and didn’t look right. I solved this by painting in some curtains. It makes the house look more lived-in, plus provided an extra touch of colour.

Click for a larger version

Click for a larger version

Click for a larger version

Click for a larger version

Next were the balcony detailings. I had done the coffee stirrer bits quite quickly, resulting in pretty rough gaps at the balcony corners. This was easily remedied by putting in some nice flowers flowing down over the gaps. They also made the balcony look much more lavish. In order not to make it look too fine, I used small plastic barrels by Renedra (procured through Bad Squiddo Games) as flower pots.

Click for a larger version

Click for a larger version

As a final touch I added some details around the place. The bales of cotton and other goods (by Ainsty and Renedra) in front of the building are intended to be a non-subtle show of wealth, while various patches of grass and the vines creeping up the wall just add a bit of colour.

Click for a larger version

Click for a larger version

Click for a larger version

Click for a larger version

I’ve already got a suitable tenant for the building, a female pirate by Reaper Miniatures that I also picked up from Bad Squiddo. I’ve already dubbed her “pirate queen” in my head, so this should be a nice, shabby palace for her!

Photo © Reaper Miniatures

Photo © Reaper Miniatures

This piece took plenty of work, so I’m happy to say I’m satisfied with the result. Comments welcome as always!

h1

Finished stable

February 6, 2016

I’ve finished painting the Warbases stable shown in a previous post. I added a small crate and a barrel from Reaper’s Bones 2 set, kindly donated by my friend Joonas, plus some sacks from Ainsty. In the painting I went for a coloured, but severely weather-beaten look. The idea was that this used to be a nice little green stable with blue door frames back when this was still a respectable little town somewhere in the Caribbean. Now, with the addition of pirates and the lack of both horses and upkeep, it’s showing its age and is mostly used as a storage space.

Click for a larger version

Click for a larger version

Click for a larger version

Click for a larger version

Click for a larger version

Click for a larger version

Click for a larger version

Click for a larger version

Click for a larger version

Click for a larger version

For a long time during the painting I wasn’t really happy with it, but to my great surprise it really came together in the end, especially with the basing. In its finished state, I quite like it! It has also in my mind confirmed that the quite simple and plain Warbases stuff can be made into very nice terrain pieces without too much work.

Comments appreciated! Also, because it would be crazy not to squeeze in a stable-related pun, here’s a great song from the 90s:


h1

A cart

February 1, 2016

As part of the scatter terrain for my pirate town, I just finished a wrecked cart by Ainsty:

Click for a larger version

Click for a larger version

Click for a larger version

Click for a larger version

Click for a larger version

Click for a larger version

Click for a larger version

Click for a larger version

The piece has plenty of things I love. It’s nicely detailed, crisply cast, takes paint something wonderful and I got it to look fairly nice with near minimal effort. I painted the base to match the pirate board and glued in some tufts of grass to make it look like it has been stuck in the ground for a while.

This was a quick little piece but makes for a good addition to my table. The inside of the cart is big enough to place goods or a miniature there, so that’s an added bonus. At £5, this is a bargain, and I got it for even less during Ainsty’s latest sale. Go on, get one! You won’t regret it.

Comments welcome as always!


h1

Stable building

January 25, 2016

Any pirate town needs buildings, as it would hardly be a town otherwise. I picked up a bunch of building blanks from Warbases to give my pirates places to live in. The Warbases building blanks are just that, blanks. They’re dead cheap, but there’s very little detailing or texturing. I ordered them as a sort of test: if I could make them look nice without too much work, it would be a great investment. If not, it wouldn’t be too expensive. To be exact, the stable block in this post isn’t part of the building blanks. There’s a bit more texturing and detail, but it’s still quite a simple build and at £6 very inexpensive.

I wasn’t really happy with the outside texturing, so I went to work with good old coffee stirrers. After covering all the walls, I used the excellent roofing slate strips from Warbases to add detail to the roof. As I wanted something extra, I hacked a hole into the roof (it was fairly easy as it’s quite thin MDF) before gluing it down and attached a few stirrers inside. When attaching the roofing strips I made sure to scatter some tiles around the hole, and the collapsed end result looks quite nice in my opinion.

Click for a larger version

Click for a larger version

Click for a larger version

Click for a larger version

Click for a larger version

Click for a larger version

I used cut-up matchsticks to build the door frames, and glued in the doors that came with the set. I carved the detail a bit deeper than the laser-cut originals to make sure it shows up when painted. The support beams in the front didn’t attach to the roof neatly enough to my taste, so I added some matchsticks to make them a little more sturdy.

Click for a larger version

Click for a larger version

The baseplate came with the kit, and I simply flocked it. Once the whole thing has been painted, I’ll add some detail next to walls such as barrels and meal bags. Looking to slap some paint on today, so we’ll soon see how it turns out! This also means that I might need to buy some more minis to go with it. A smith, maybe?