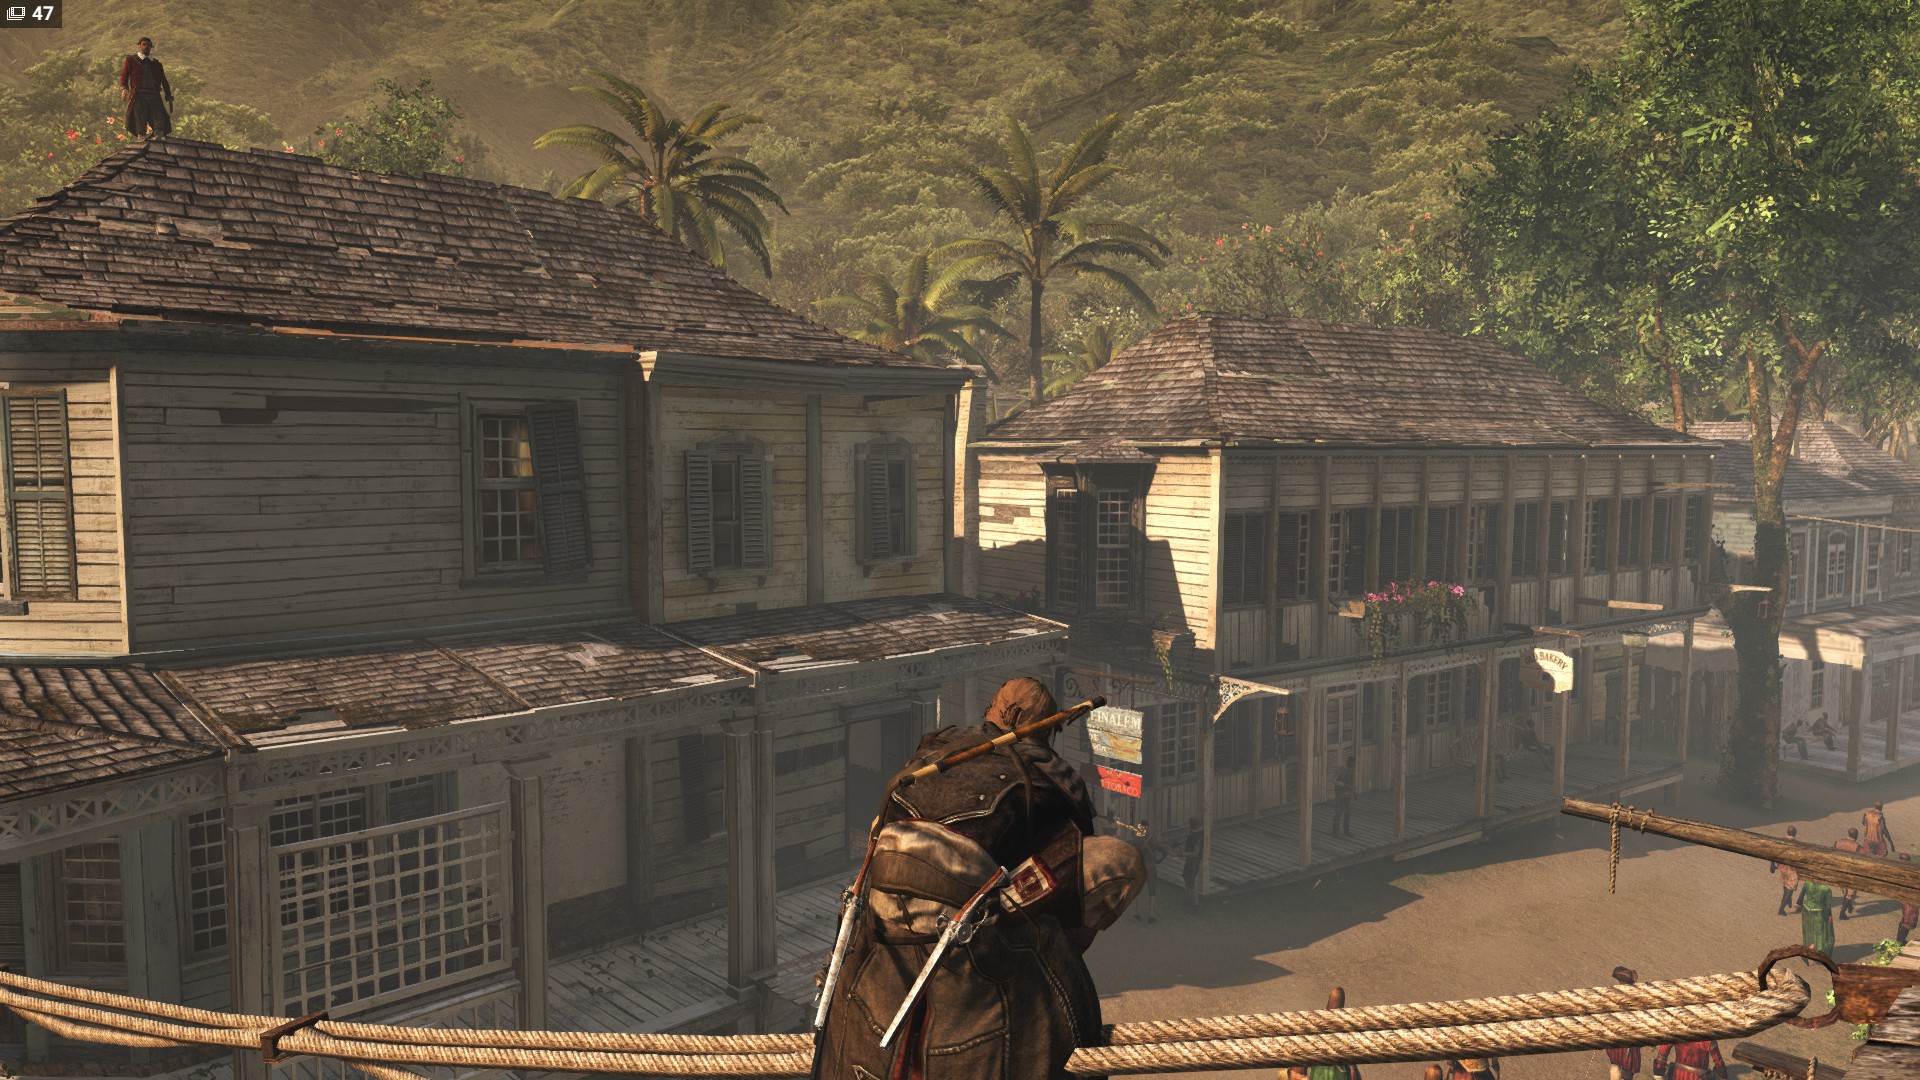
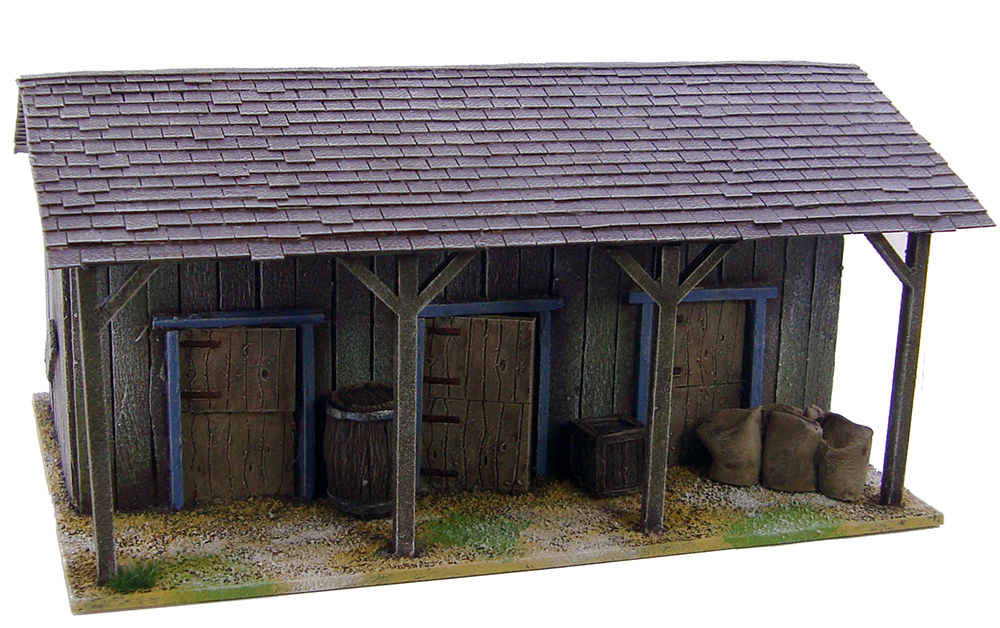
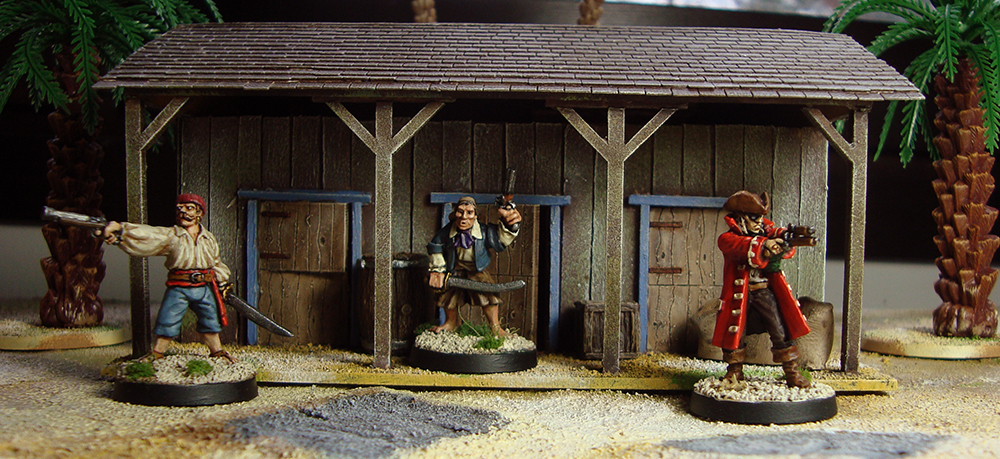
Another finished Warbases building, one of their range of modular, simple pieces. Now, when I say simple, I really do mean simple. The basic modular building is a featureless box with a slanted roof. Of course, this makes it perfect to modify, which is why I bought quite a few. I originally intended to make a Spanish Caribbean style town which is why I bought the original few. My vision changed, but I still wanted to use the buildings of course.
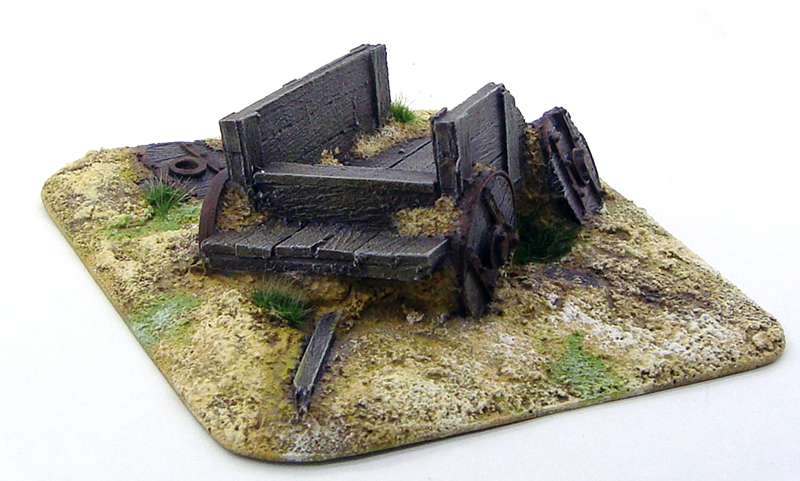
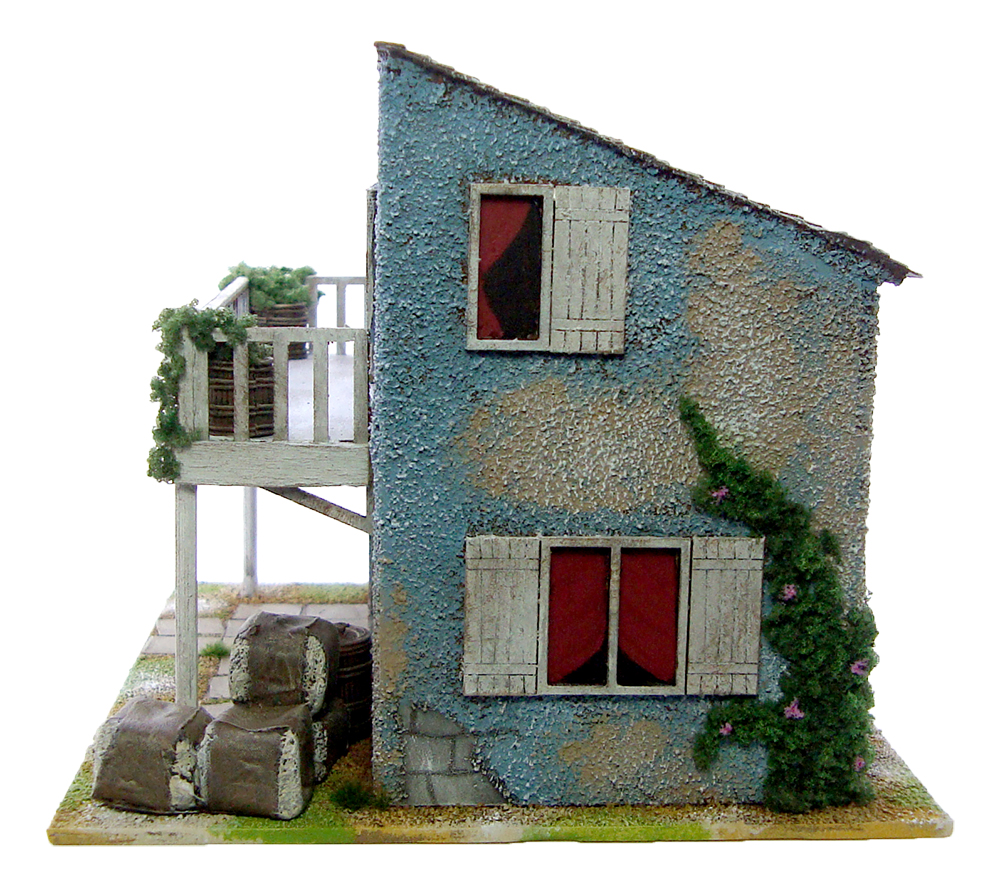
After the stable, I wanted to build something a bit more fancy, yet in the same run-down style. That’s where the in-game story for the building started. I’ve found that much the same as with miniatures, providing a mental backstory to a building helps me make it more interesting and detailed. As the whole idea of my town is that it’s a British trading outpost that has slowly slid under pirate control, I figured that there would be some fancier buildings for the officials and other upper crust types. This building was maybe once owned by the local magistrate or a rich trader. After being taken over, it has slipped into decay a bit, but is still impressive.

Click for a larger version
Click for a larger version
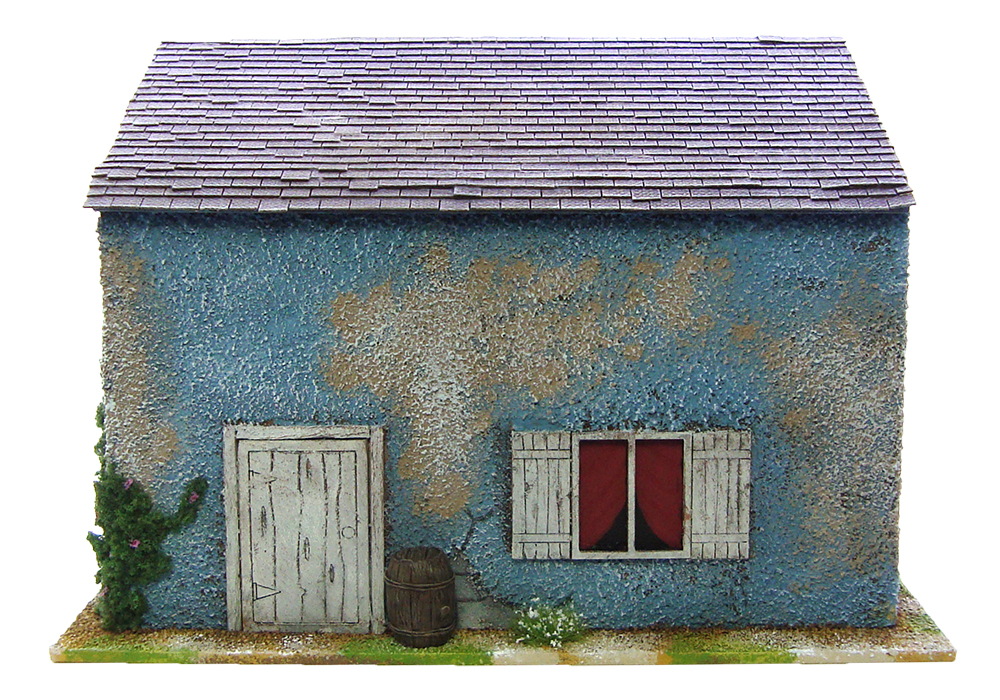
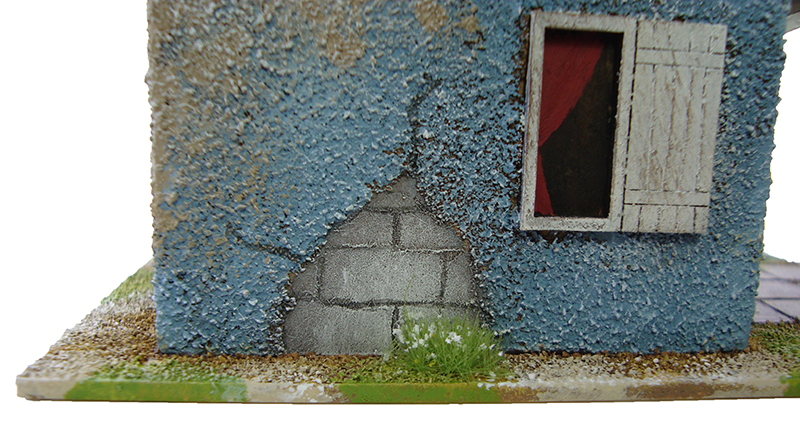
I wanted the building to look both shabby and impressive at the same time, so while I made it plastered (to set it apart from most of the other buildings that will have wooden exteriors) I made sure to make the plaster cracked and the nice blue paint faded and dirty. I added a balcony from Warbases and put in some extra decoration using coffee stirrers, and made supporting and decorative columns from barbecue skewers. The balcony and the window frames and shutters were all painted white, but heavily weathered in keeping with the run-down look. I also added a small patio from squares of card, but made sure that stones were missing and some misaligned. The roofing was done using the laser-cut sheets available from Warbases.
While I wanted the building to look worn, it needed to show that whoever was inhabiting the place still appreciated it. The next few steps also came from necessity.
First up were the windows. While I’ve now bought windows with smaller panes, the original ones were great, big, abyssal black holes in the walls and didn’t look right. I solved this by painting in some curtains. It makes the house look more lived-in, plus provided an extra touch of colour.

Click for a larger version
Click for a larger version
Next were the balcony detailings. I had done the coffee stirrer bits quite quickly, resulting in pretty rough gaps at the balcony corners. This was easily remedied by putting in some nice flowers flowing down over the gaps. They also made the balcony look much more lavish. In order not to make it look too fine, I used small plastic barrels by Renedra (procured through Bad Squiddo Games) as flower pots.

Click for a larger version
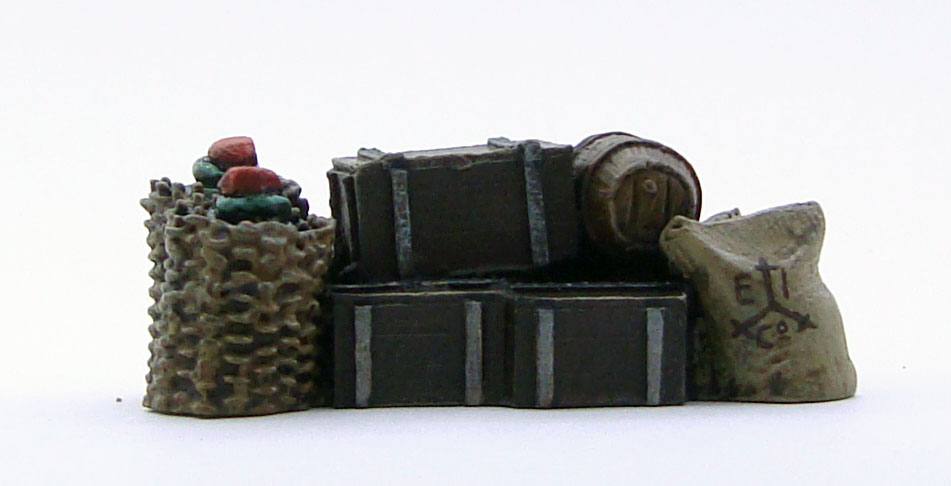
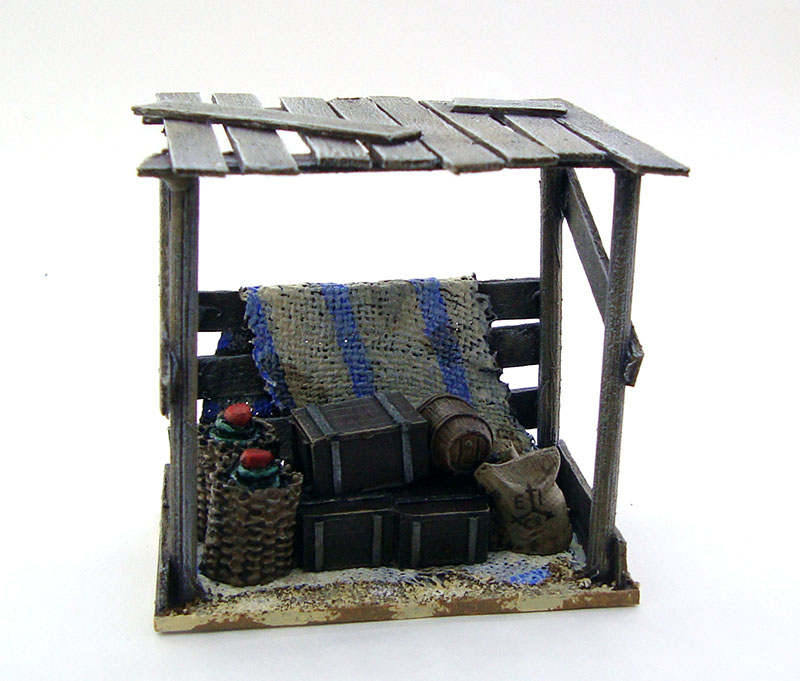
As a final touch I added some details around the place. The bales of cotton and other goods (by Ainsty and Renedra) in front of the building are intended to be a non-subtle show of wealth, while various patches of grass and the vines creeping up the wall just add a bit of colour.

Click for a larger version
Click for a larger version
I’ve already got a suitable tenant for the building, a female pirate by Reaper Miniatures that I also picked up from Bad Squiddo. I’ve already dubbed her “pirate queen” in my head, so this should be a nice, shabby palace for her!
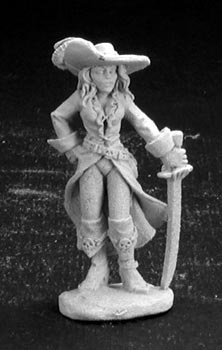
Photo © Reaper Miniatures
This piece took plenty of work, so I’m happy to say I’m satisfied with the result. Comments welcome as always!