Every single miniatures project I’ve ever worked on has suffered its share of setbacks. Often these are a result of rash actions instead of careful planning. With my Pacific Rim game board, it just so happened that I decided that the table would look nicer drybrushed. The smart guy that I am, I tried a sample piece first, then a small corner of the table – both yielded nice results. I then meticulously started drybrushing a large board with a small drybrush, got bored, took a bigger brush to it, didn’t bother to wipe the paint off well enough and ended up with one end of the game board looking like someone did some very poor drybrushing on it.
Next came the question of what to do. As the table wasn’t painted to begin with, I figured that to try and paint the area wouldn’t work – I would have to paint the rest of the table to match. For a brief moment I thought that I might simply cut of the messy end, after all foam cuts easily. This however felt a bit too much. Suddenly, a wild idea appeared!
I’d been thinking hard about how to build a seaside on the table. After all, Pacific Rim was all about giant monsters wading out of the sea and into harbours to cause havoc. I had in fact already built a a mock-up of a corner harbour piece out of plasticard and a 1/700 harbour set by Tamiya:

Click for a larger version
I wasn’t completely happy with it though. A lot of plasticard was wasted in the design, and the corner design was quite limiting. This got me thinking…
Why not just paint the whole end of the table as seaside? The sea would probably be present in all games anyway, and if I didn’t want it for some reason, I could always cover it up. After a quick round of “is this another stupid, rash idea?”-thinking, I went to work, and in a short time I’d painted the end of the table a lovely sea blue, completely covering up my amateurish drybrushing mess.

Click for a larger version
What about the harbour then? With the sea fixed on the table, I figured the harbour just needed to be something to show where the sea ended and to make the razor sharp coastline a bit more interesting. I kept the main idea of my original harbour design, and simply cut out the strips I needed to make the pier. Wanting something more interesting, I went crazy and cut half of the pier in an angle. I was soooo pleased with myself, until I placed it on the waterline and had a wonderful facepalm moment.

Click for a larger version
As you may have figured out, I’m not really an engineer. I am however a teacher, and fairly used to improvising fixes for my mistakes. I’ve lately been working with thin mousepads as scenery building material (might do a blog on it), so I just cut out a suitable shape, sprayed it black and voila!
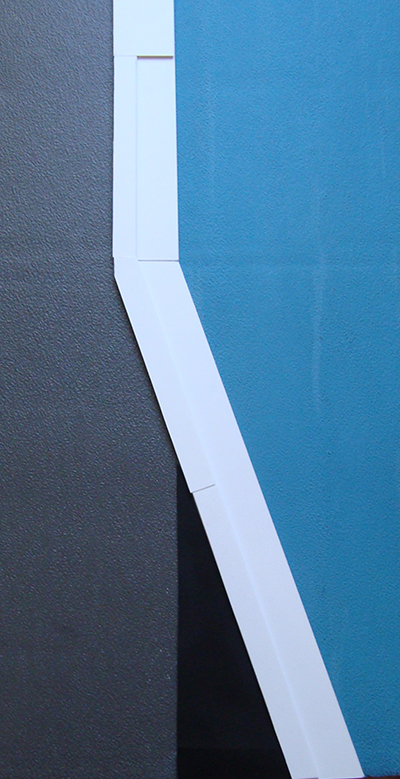
Click for a larger version
After I paint it to match the pier, it won’t look out of place at all.
Finally, here’s a shot of the harbour with accessories. I think once it’s painted, it will look mighty lovely. The waterline design also means, that if I want to make a sandy beach for example, I can simply cut up mousepads, paint/flock them and lay them over the waterline. Great success!

Click for a larger version