I spent the best part of last week at our summer house. While I was mainly there working on my dissertation, I couldn’t help but bring my ship with me for some extra work. The project is progressing nicely, and here are the latest updates:
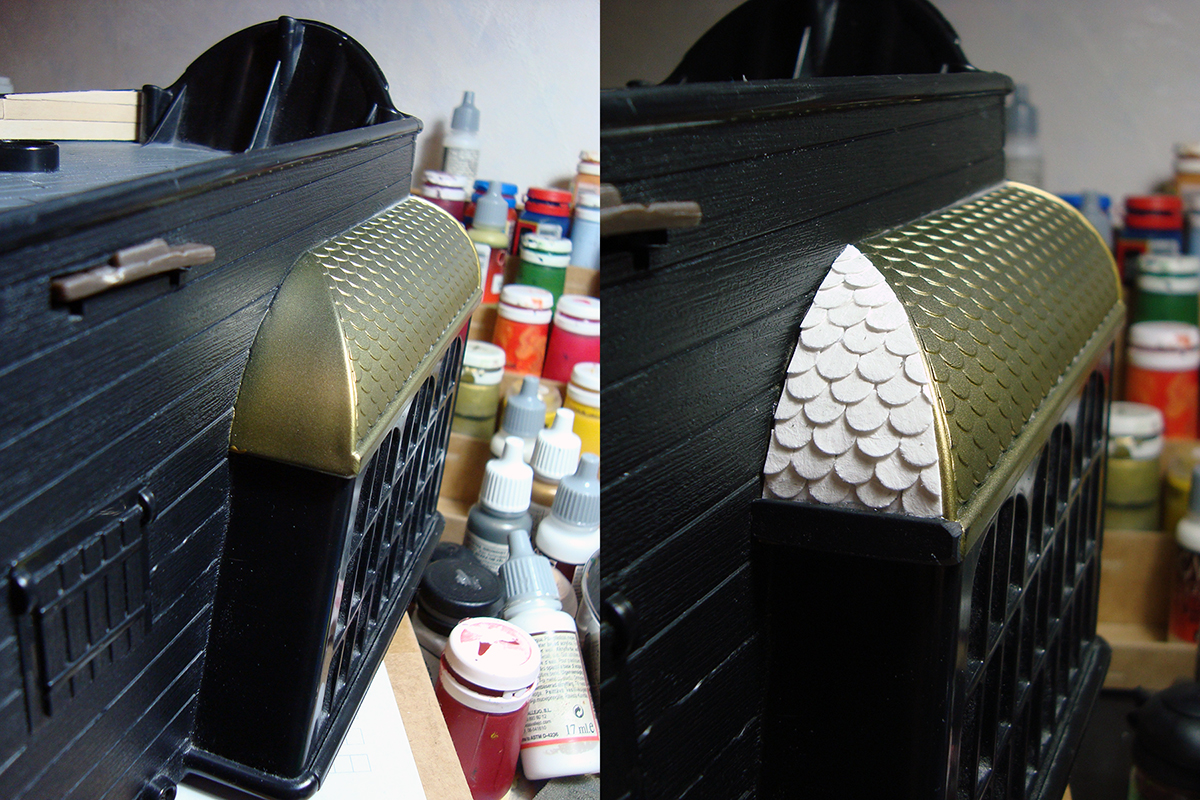
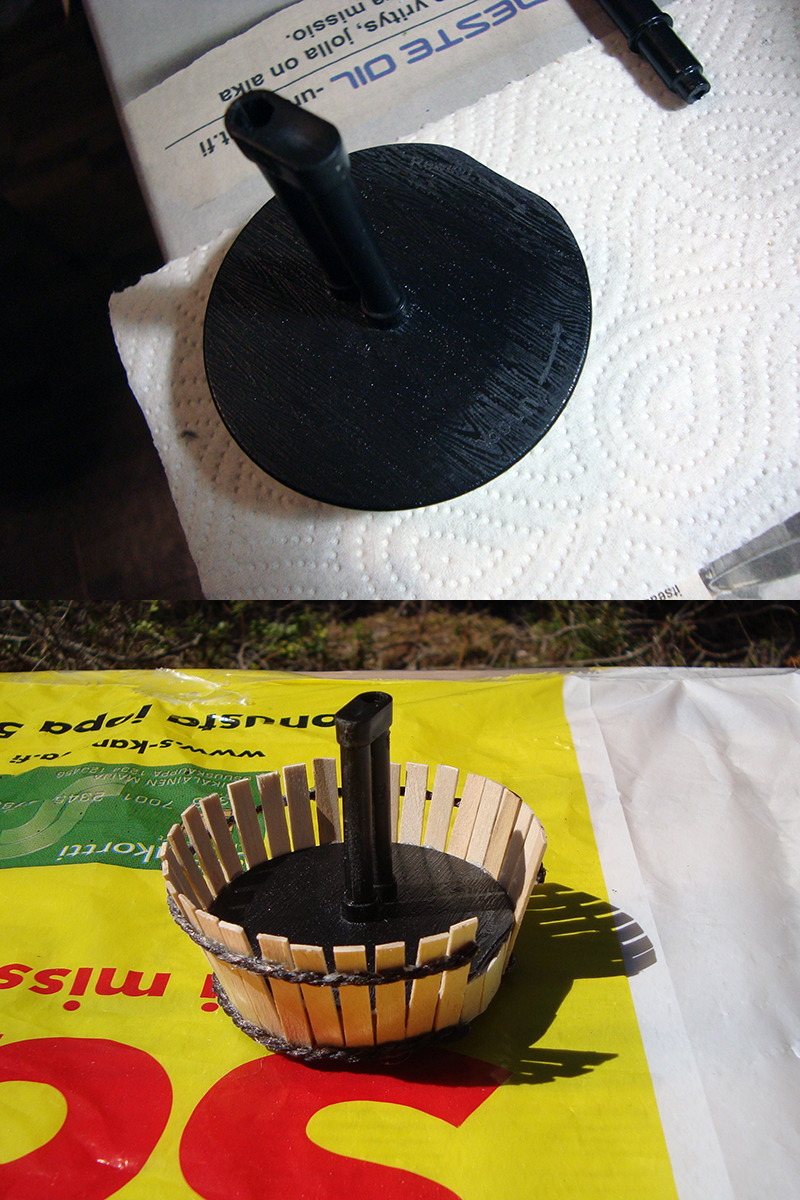
I added planking to the second, larger crow’s nest and added a rope band made out of coarse string around it. While the rope looks nice, it mainly came about simply because making a band around an inverted cone shaped object out of anything else was far too tricky.
Click for a larger version
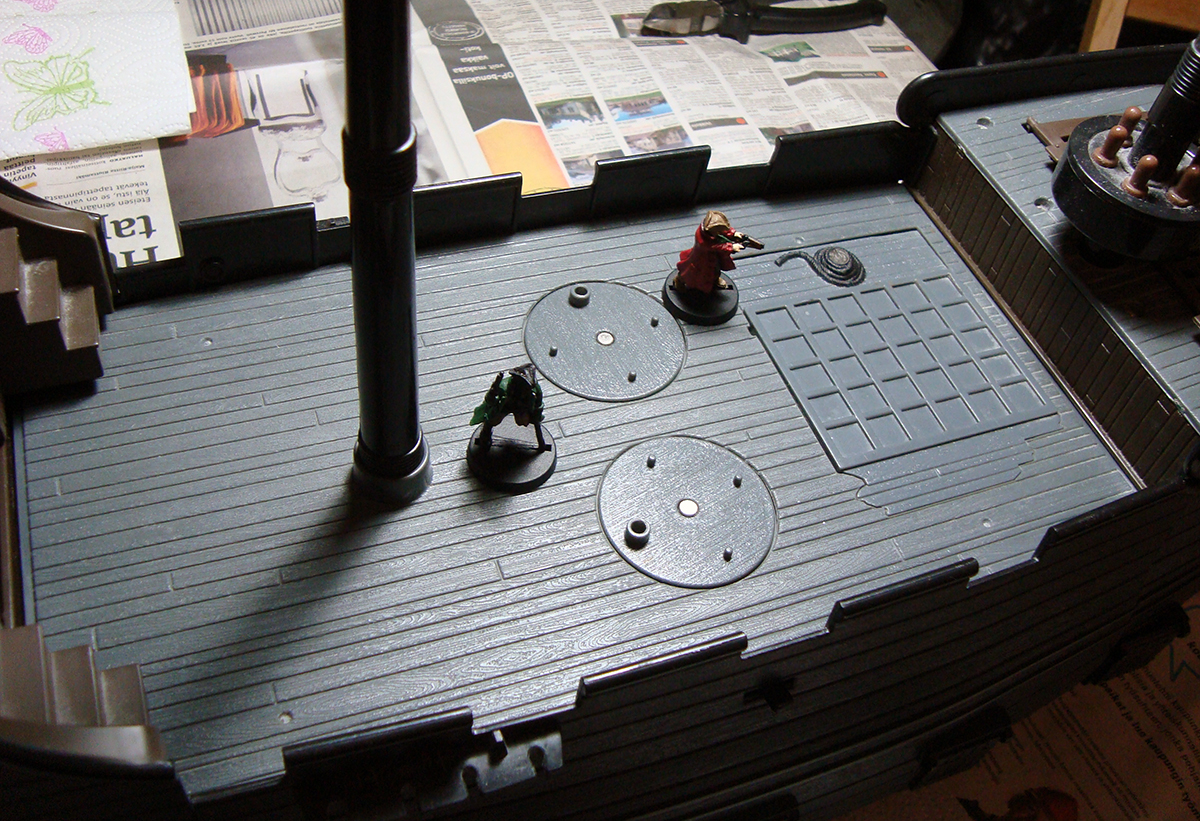
The poop deck is almost finished. I added planking to the blank inside of the aft railing (or whatever it’s called). It took some extra work cutting it into shape, but I think it paid off. I added a swallow decoration above the door from my girlfriend’s broken earring, and decorated the door itself with a plastic shield boss from an old WHFB Empire set. I think it will get a small knocker to finish it off. I messed up a little bit while cutting up the door, so I’ll probably add hinges to the right edge to cover those ragged parts. The wall will also get a lantern from another WHFB set. In the picture you can also see the lovely plank you can extend from the side of the ship. I’ll definitely leave that in place for those Hollywood swashbuckling moments.

Click for a larger version
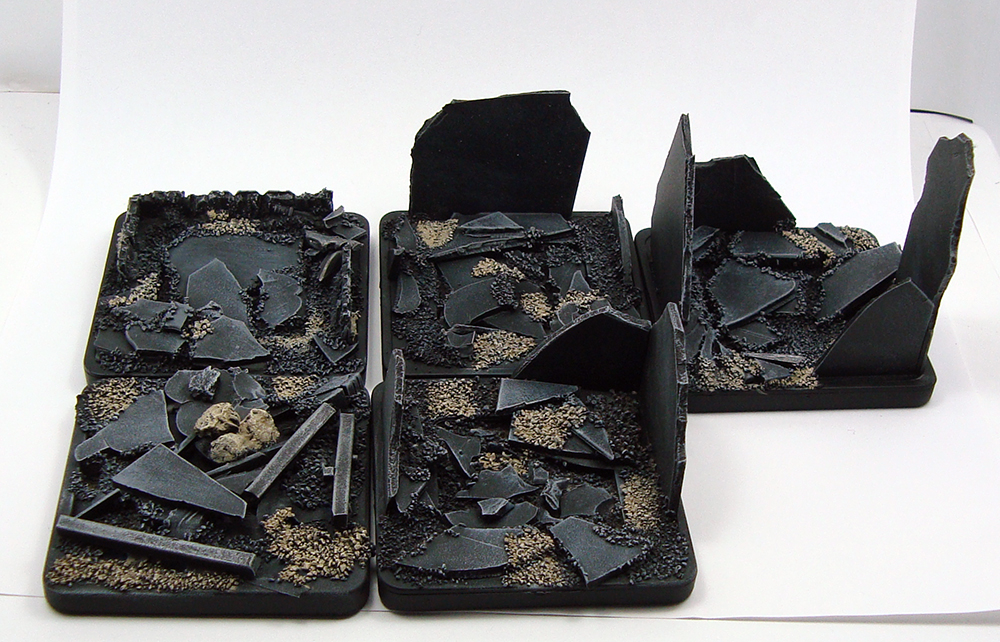
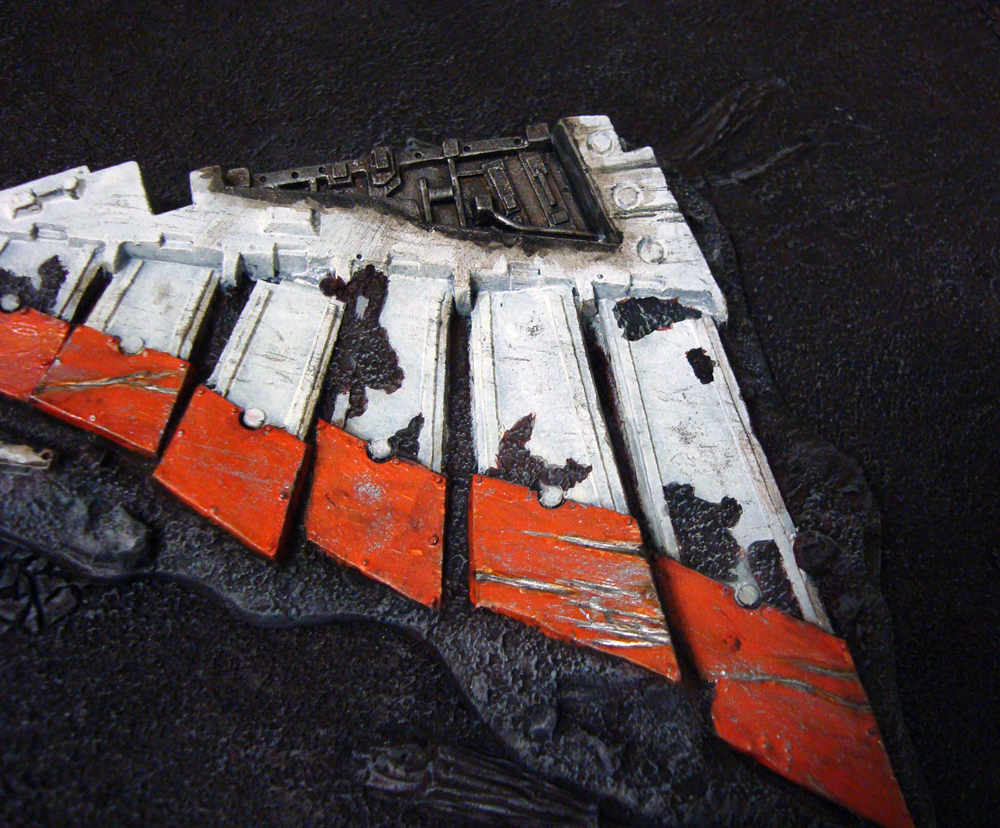
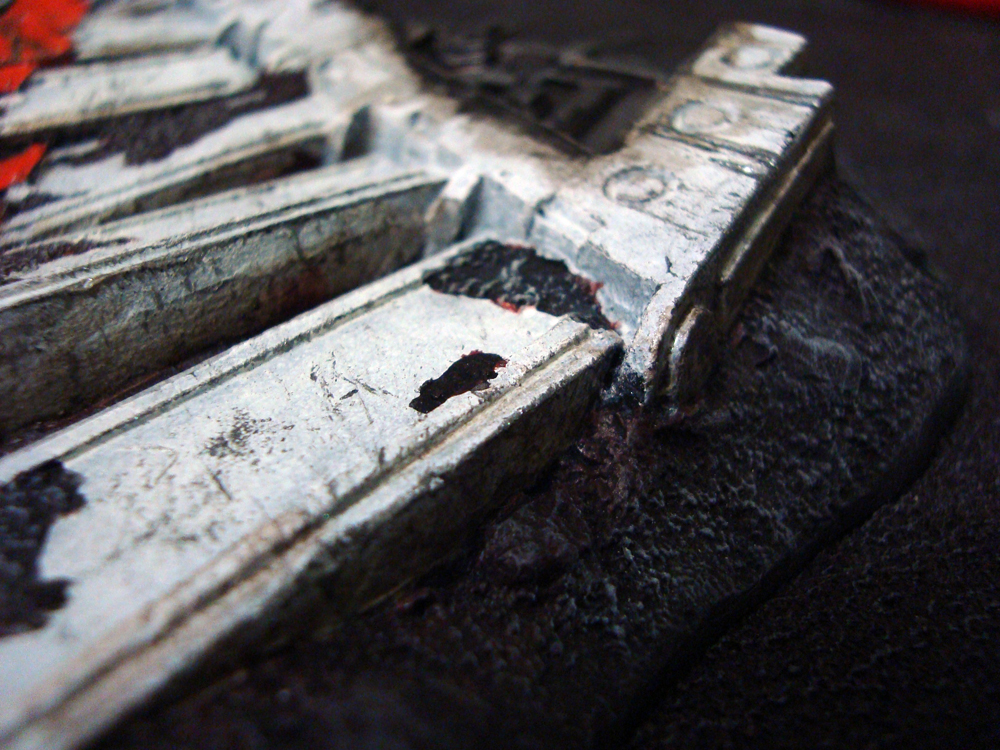
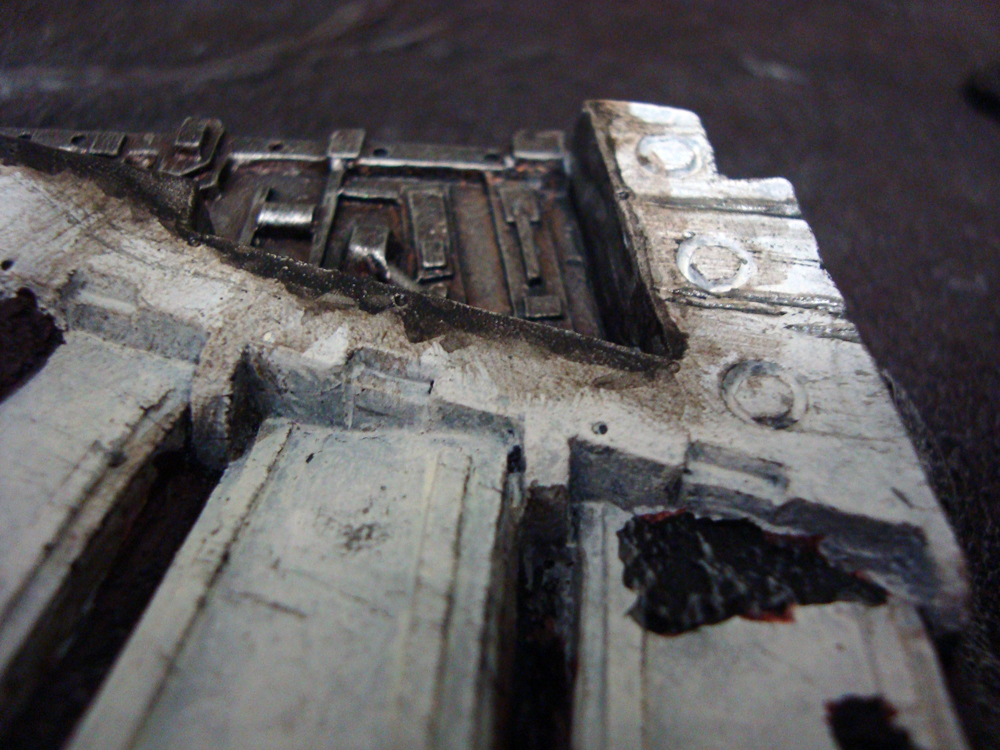
I’ve been putting a fair bit of thought into the painting of the ship, as messing everything up with a failed paintjob after all the work done so far would be heartbreaking. After a lot of consideration I settled on dark brown spray paint, intended for use on metal roofing. It sticks well, covers something wonderful, takes paint and is suitably matte. The decking will probably get a hand-painted lighter, warmer shade and everything will of course be drybrushed later on. Something I was a little concerned about was how well the painting would tie the different elements together. After spraying it all, I could breathe a sigh of relief as it came out as intended, really making the different parts into a whole. At a glance you can’t easily tell the difference between the original plastic ship elements and the coffee stirrer bits.

Click for a larger version

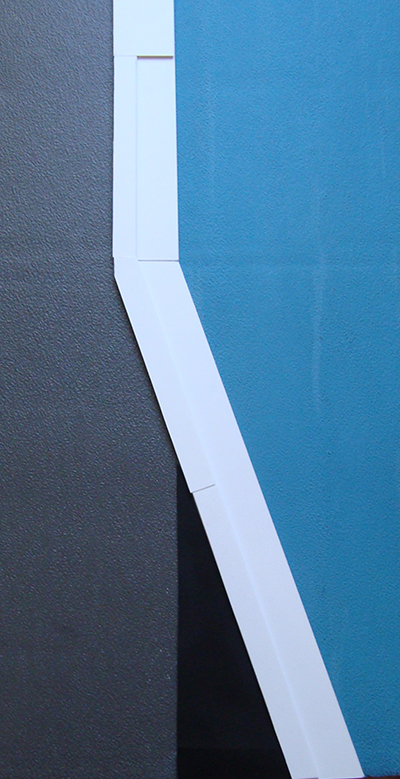
Click for a larger version
I’m still happy with the project and its progress – and more than a little surprised that it hasn’t come grinding to a halt yet. Watching Black Sails and painting pirates helps, too!